Adding a complete Private Network
Private Networks allow you to customize your account by adding compatible mainnets and testnets. You can then use them as any other supported network to deploy, monitor, and manage smart contracts on those networks. This guide will lead you through the steps of adding a Private Network with a subgraph and Safe contracts.
Pre-requisites
-
OpenZeppelin Defender account. You can sign up to Defender here.
1. Configure Private Network
As an example, this guide uses Tenderly to create a network to use. Follow these steps:
-
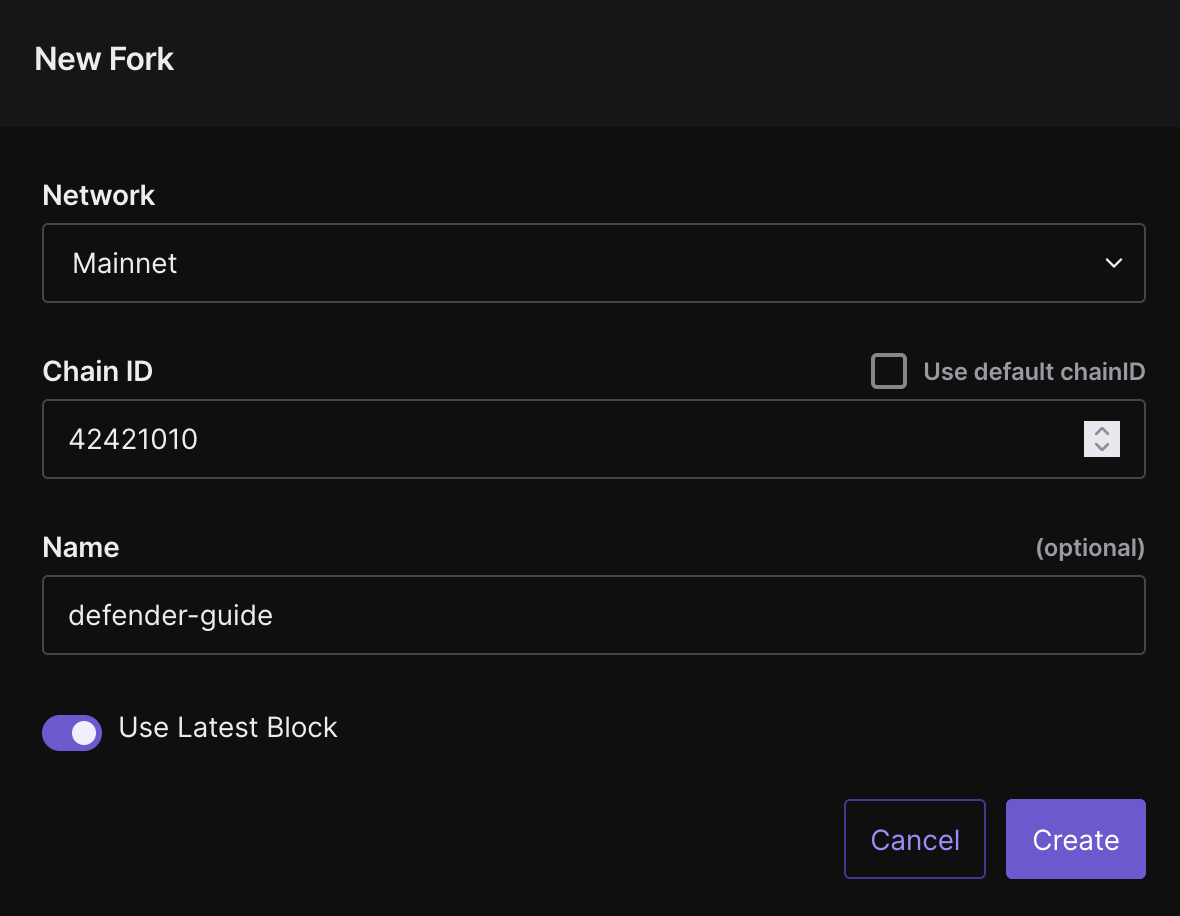
Regsiter an account on Tenderly and create a fork network from Ethereum mainnet. Toggle the custom chain ID and set it to a unique value to prevent conflicts with public chain IDs.
-
Copy the network RPC and go to the Private Network page on Defender. Fill and submit the form with the network information, leaving the optional fields on blank (which will be configured in the next steps):

2. Deploy Safe contracts
With the Private Network created, you can now deploy the Safe contracts, which can be used for multisigs or CREATE2 deployments. Follow these steps:
-
Clone the
safe-smart-accountrepository and install the dependencies:git clone https://github.com/safe-global/safe-smart-account && cd safe-smart-account && npm install -
Create a new wallet, copy its mnemonic, and paste it in the
.envfile alongside the RPC url of the Private Network in theNODE_URLparameter. For example, with Foundry:cast wallet new-mnemonic -
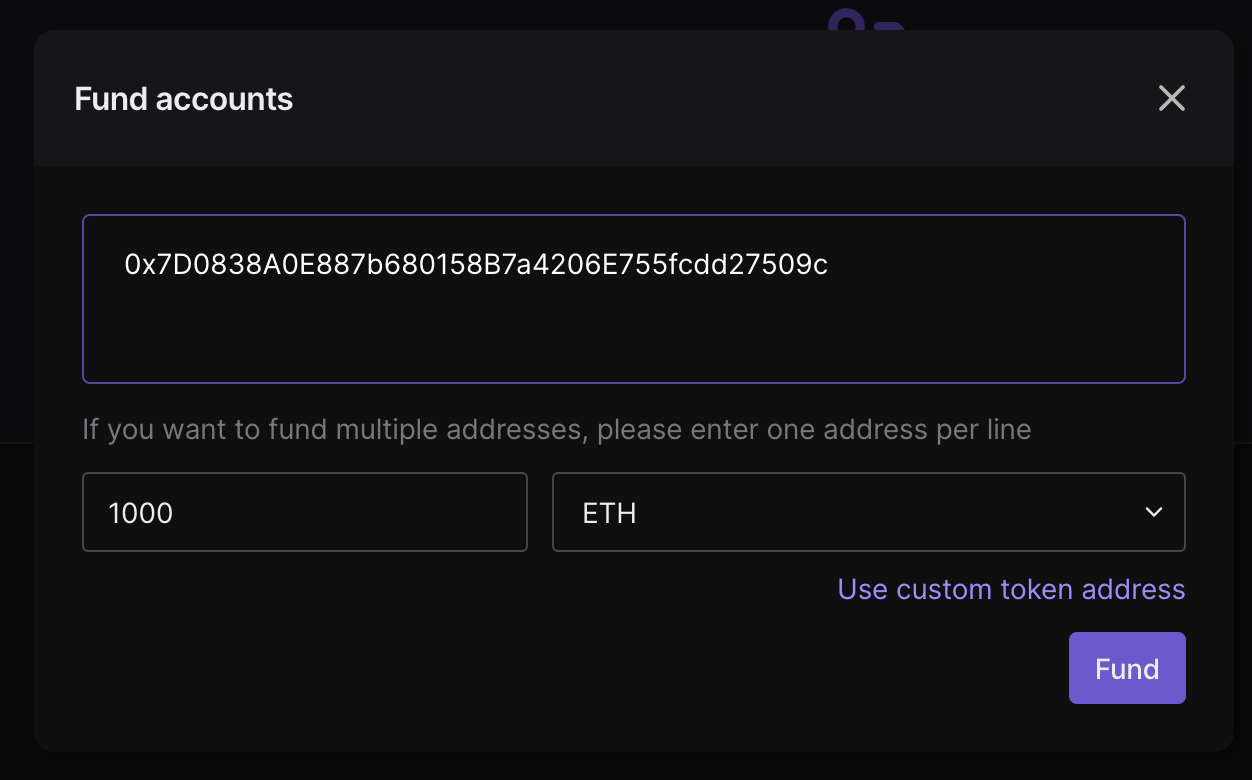
Fund the wallet with native tokens (like Ether) via Tenderly.
-
Paste the private key of the wallet and network RPC in the following command to deploy the CREATE2 Deployer contract. Copy the contract address in
contractAddressfor the next step.cast send --rpc-url NETWORK_RPC --private-key PRIVATE_KEY --create 0x604580600e600039806000f350fe7fffffffffffffffffffffffffffffffffffffffffffffffffffffffffffffffe03601600081602082378035828234f58015156039578182fd5b8082525050506014600cf3 -
Replace the
deterministicDeploymentfunction inhardhat.config.tswith the following code, replacingYOUR_CONTRACT_ADDRESSandYOUR_WALLET_ADDRESS:const deterministicDeployment = (): DeterministicDeploymentInfo => { return { factory: "YOUR_CONTRACT_ADDRESS", deployer: "YOUR_WALLET_ADDRESS", funding: BigNumber.from(100000).mul(BigNumber.from(100000000000)).toString(), signedTx: "0xf8a58085174876e800830186a08080b853604580600e600039806000f350fe7fffffffffffffffffffffffffffffffffffffffffffffffffffffffffffffffe03601600081602082378035828234f58015156039578182fd5b8082525050506014600cf326a0b1fd9f4102283a663738983f1aac789e979e220a1b649faa74033f507b911af5a061dd0f2f6f2341ee95913cf94b3b8a49cac9fdd7be6310da7acd7a96e31958d7", }; }; -
Run the following command to deploy the Safe contracts (don’t worry about the verification errors):
npm run deploy-all custom -
Navigate to the
Private Networkspage on Defender and click on the edit button of the network you created.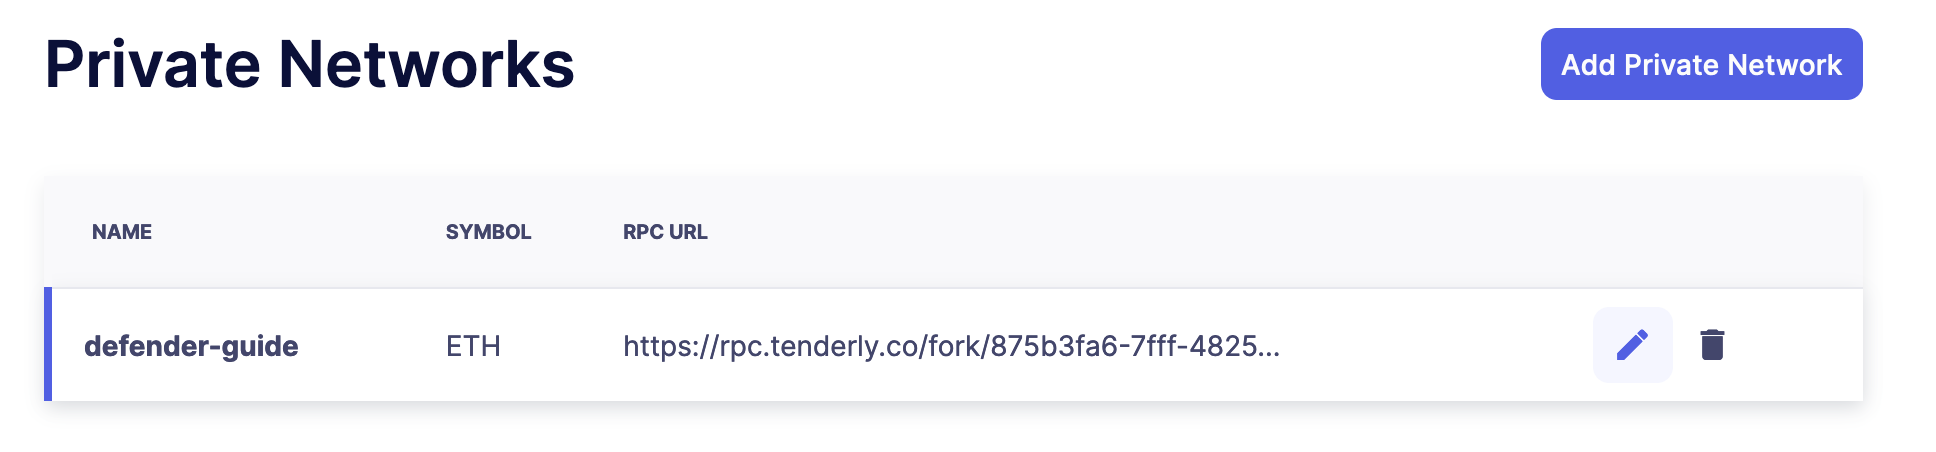
-
Copy the following addreses from the Safe contracts deployment output and paste them on Defender:
-
Safe Master Address:
Safe -
Safe Proxy Factory Address:
SafeProxyFactory -
Safe Multi-Send Call-Only Address:
MultiSendCallOnly -
Safe Create Call Address:
CreateCall
-
3. Create subgraph
Subgraphs on Defender are powered by TheGraph. In order to create one for a Private Network, the network must be first supported by the TheGraph. Here’s the list of supported networks as data sources. Follow these steps to create a subgraph:
-
Clone the Defender subgraph toolkit repository and install the dependencies:
git clone https://github.com/OpenZeppelin/defender-subgraphs && cd defender-subgraphs && yarn -
Follow the steps in the README.
-
Copy the subgraph URL and paste it in the
Subgraph URLfield on the Defender Private Network configuration.
