Remix Plugin
When coding and compiling contracts from Remix IDE, you can use Defender Plugin to deploy your contracts by configuring a Deployment Environment and using an Approval Process as deployer.
Installation
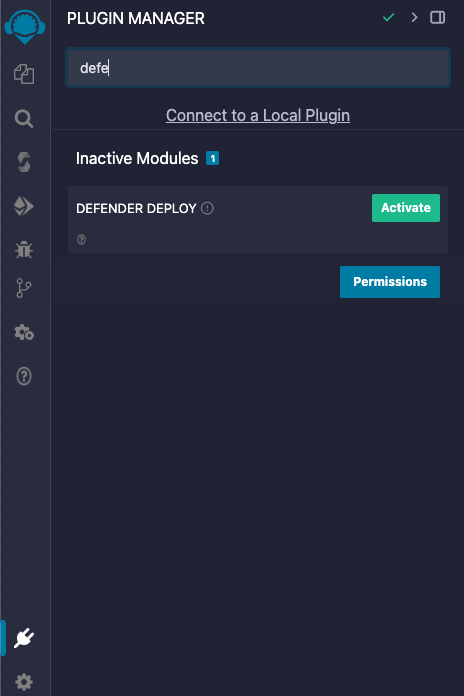
- Go to Remix IDE and click on Plugin manager (bottom left corner).
- Search Defender Deploy from the Modules list, and click "Activate".
- A new tab in the left nav bar with the OpenZeppelin icon should be displayed.
Usage
API Key generation
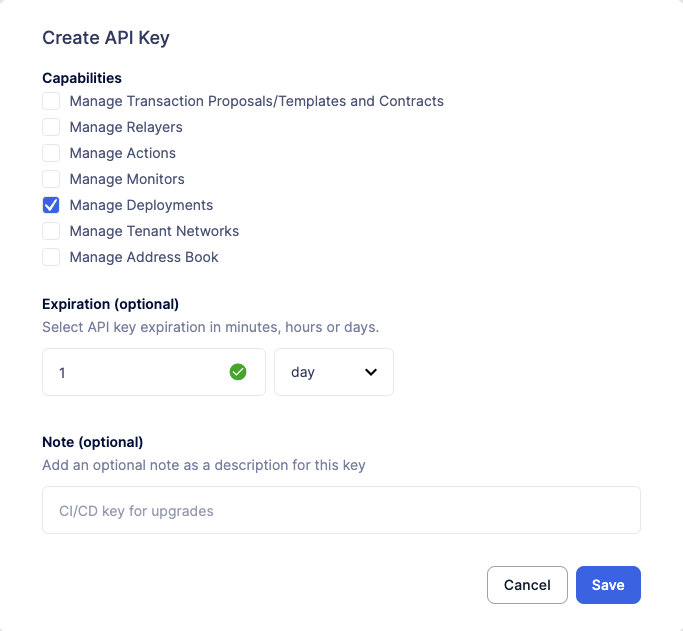
In your Defender dashboard, go to Settings -> API Keys and click Create API Key, you only need Manage Deployments permission.
We also recommend to set an expiration for the API Key, considering that is going to be used from an external site.
Deployment from Remix
Go to Remix IDE site, and open Defender plugin (see Installation step).
Setup
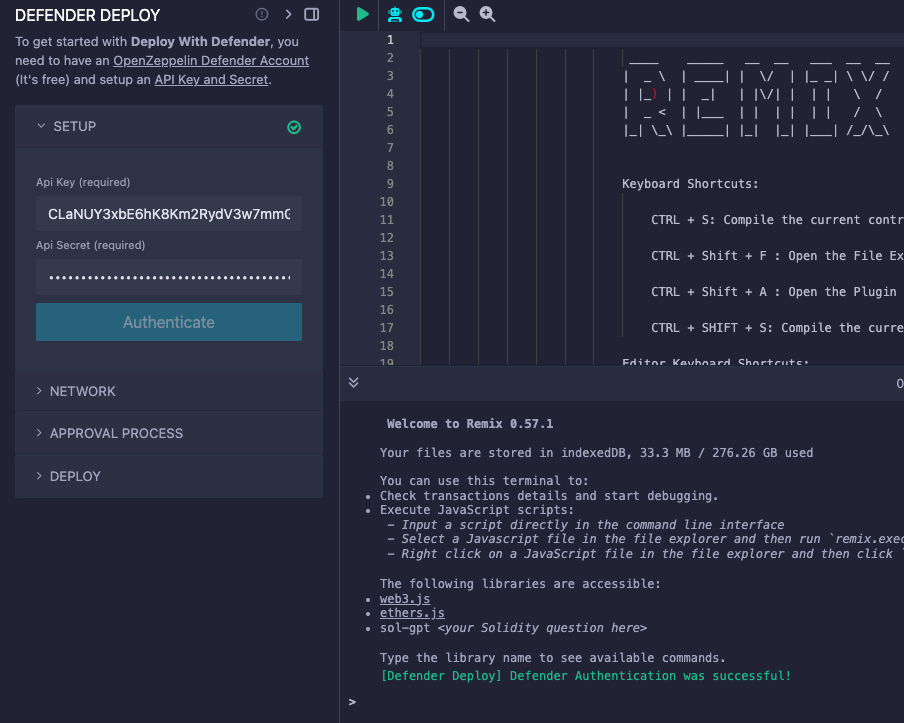
Set your API Key and API Secret and press "Authenticate". If the keys are valid, you should see a green tick in at the right indicating that you were succesfully authenticated, also a message in the Remix terminal.
Network
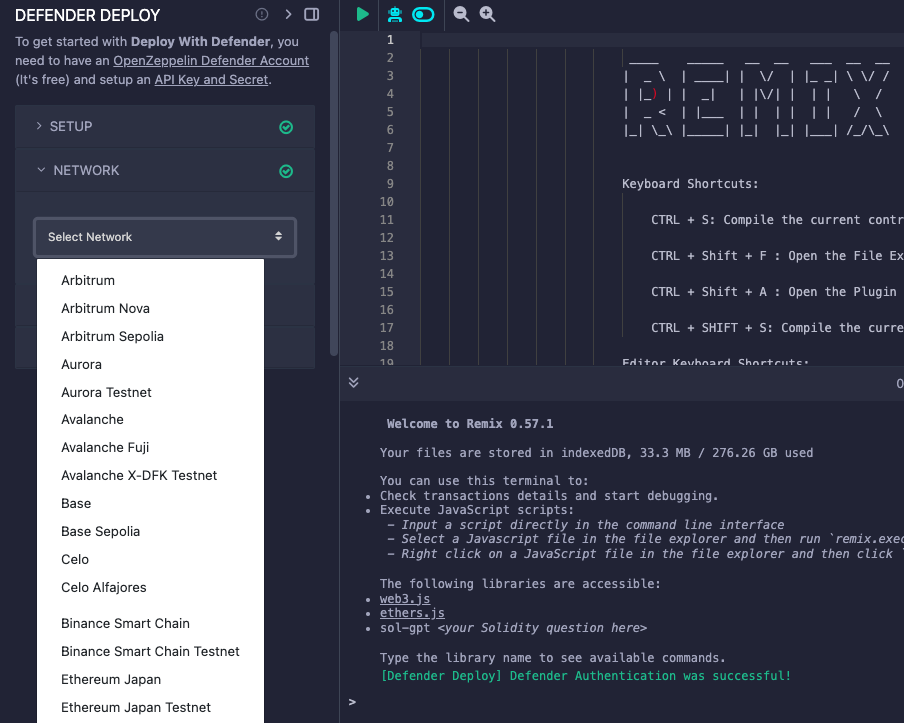
Select any of the supported networks. This also includes private and fork networks configured in your tenant.
Approval Process
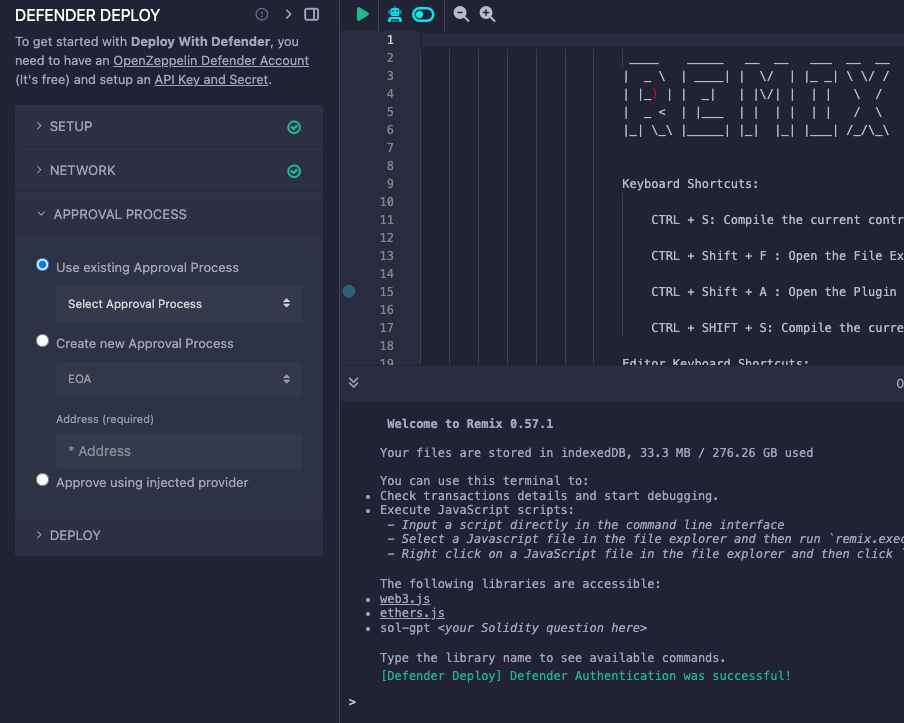
Here you have 3 options:
- Select an existing approval process from your Deployment Environment configured for the selected network.
If you have an existing deployment environment in the selected network, this is the only option allowed.
- If the Deployment Envoronment does not exist for the selected network, then you can create a new one.
If the Approval Process to be created is a Relayer, the API Key must include Manage Relayers permission.
- Additionally, you can use the injected provider from Remix (a browser wallet) to deploy the contract, this will create a Defender Deployment Environment under the hood after deploying the contract.
Deploy
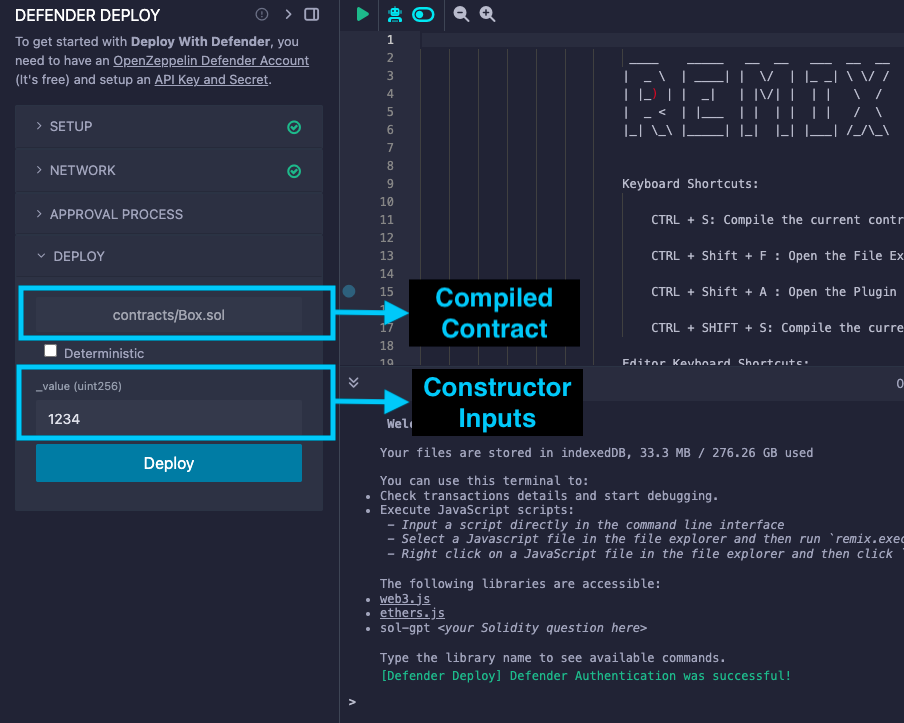
You should see the latest compiled contract along with the constructor inputs.
In case you don’t see it, compile the target contract again, the Defender plug-in should detect the compilation and display the contructor inputs.
Upgradable contracts are not yet fully supported. This action will only deploy the implementation contract without initializing. For safe upgrades, we strongly recommend usign Upgrades Package.
Deterministic Deployments
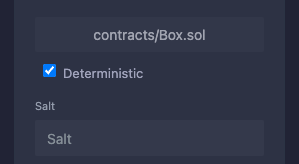
Defender Deploy supports a salt value to create deployments to deterministic addresses using create2. Click on Deterministic checkbox and set the salt field to any arbitrary value.
Further Steps
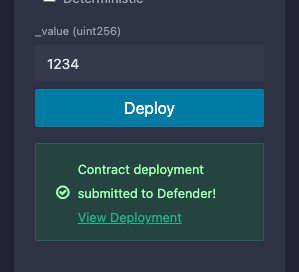
Once the contract deployment was submitted to Defender, in some cases you will need to complete the deployment from Defender Dashboard, you should see a green banner indicating that the contract was submitted and a link to your Deployment in Defender.
Feedback
The Defender Remix Plugin is open source, for feedback related to the plugin, please submit an issue in the Github Repository or send an email to [email protected].