Using Relayer for Sending Transactions
In this tutorial, we will explore how to use the Relayers to send transactions. We will cover:
- Checking relayer information.
- Sending a transaction.
- Checking the relayer status.
By the end of this tutorial, you will have a basic understanding of how to use the Relayer to interact with smart contracts.
Pre-requisites
- OpenZeppelin Defender account.
- NodeJS and NPM
- Typescript for Node js
- Any IDE or text editor
1. Set Up Relayer
Let’s start by creating a Relayer:
-
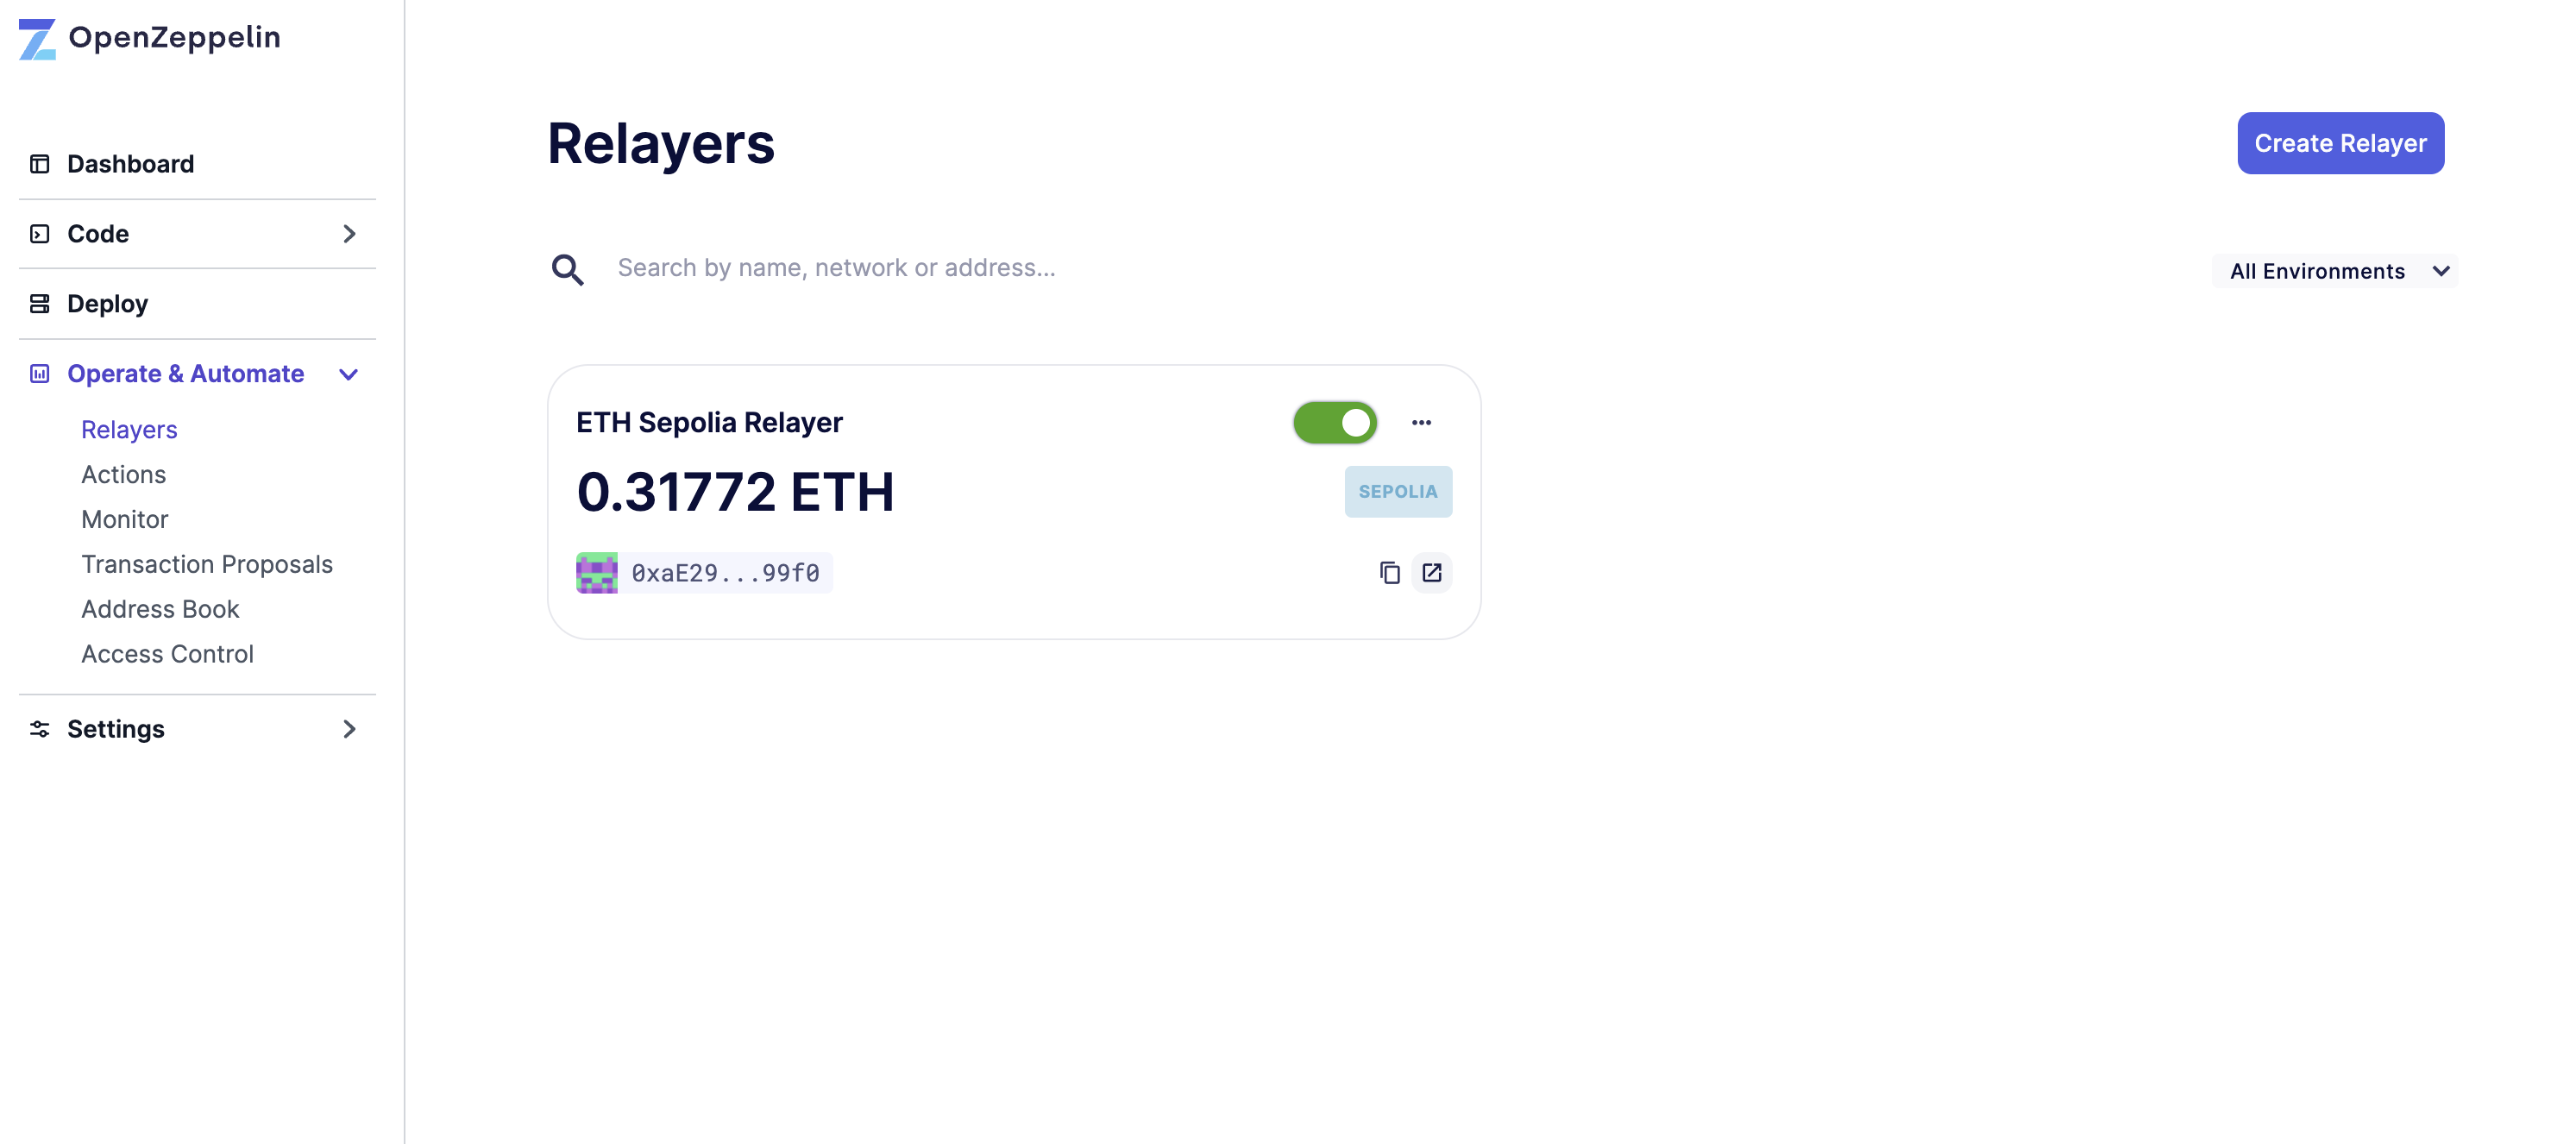
Open Defender Operate & Automate in a web browser.
-
Click on Create Relayer with the name ETH Sepolia Relayer and Sepolia network.
-
Fund it with some Sepolia ETH. This relayer will send and pay for the automated transactions.
-
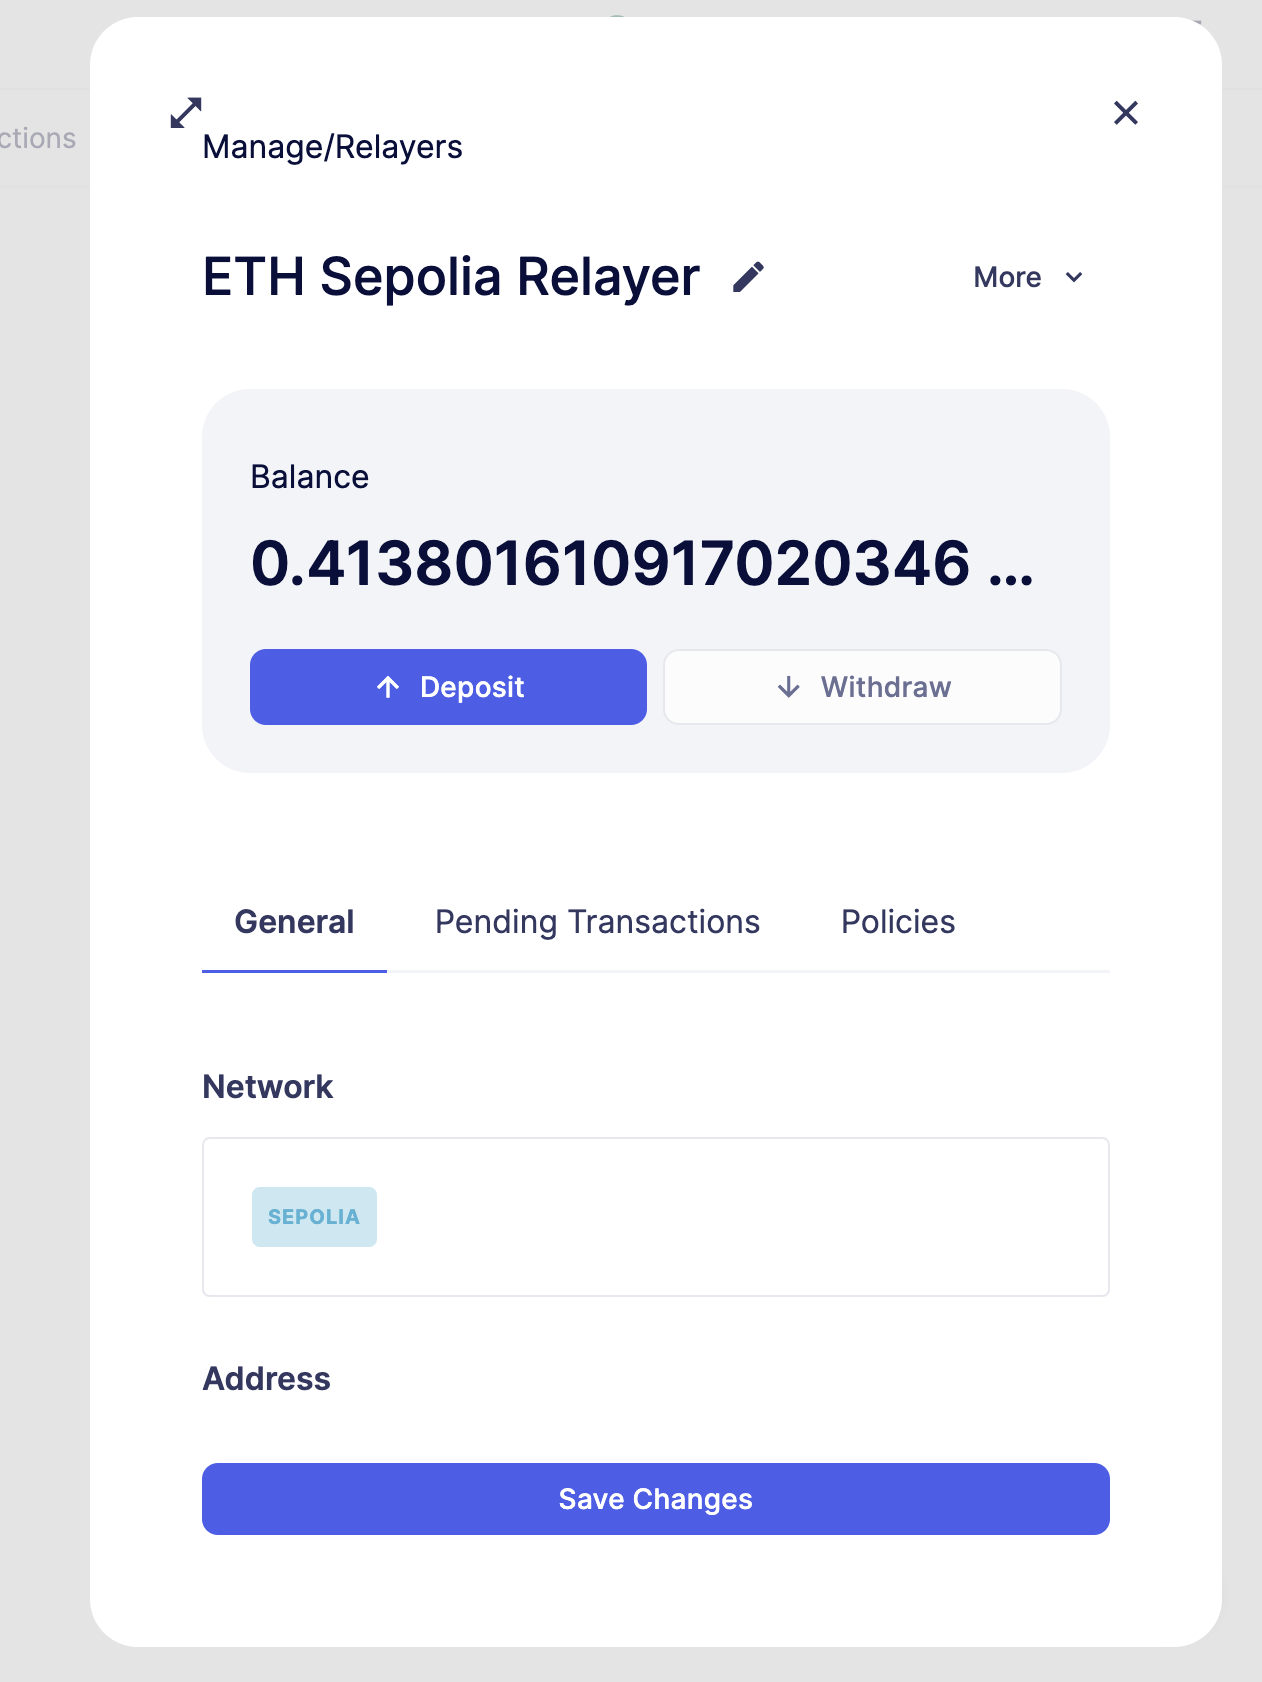
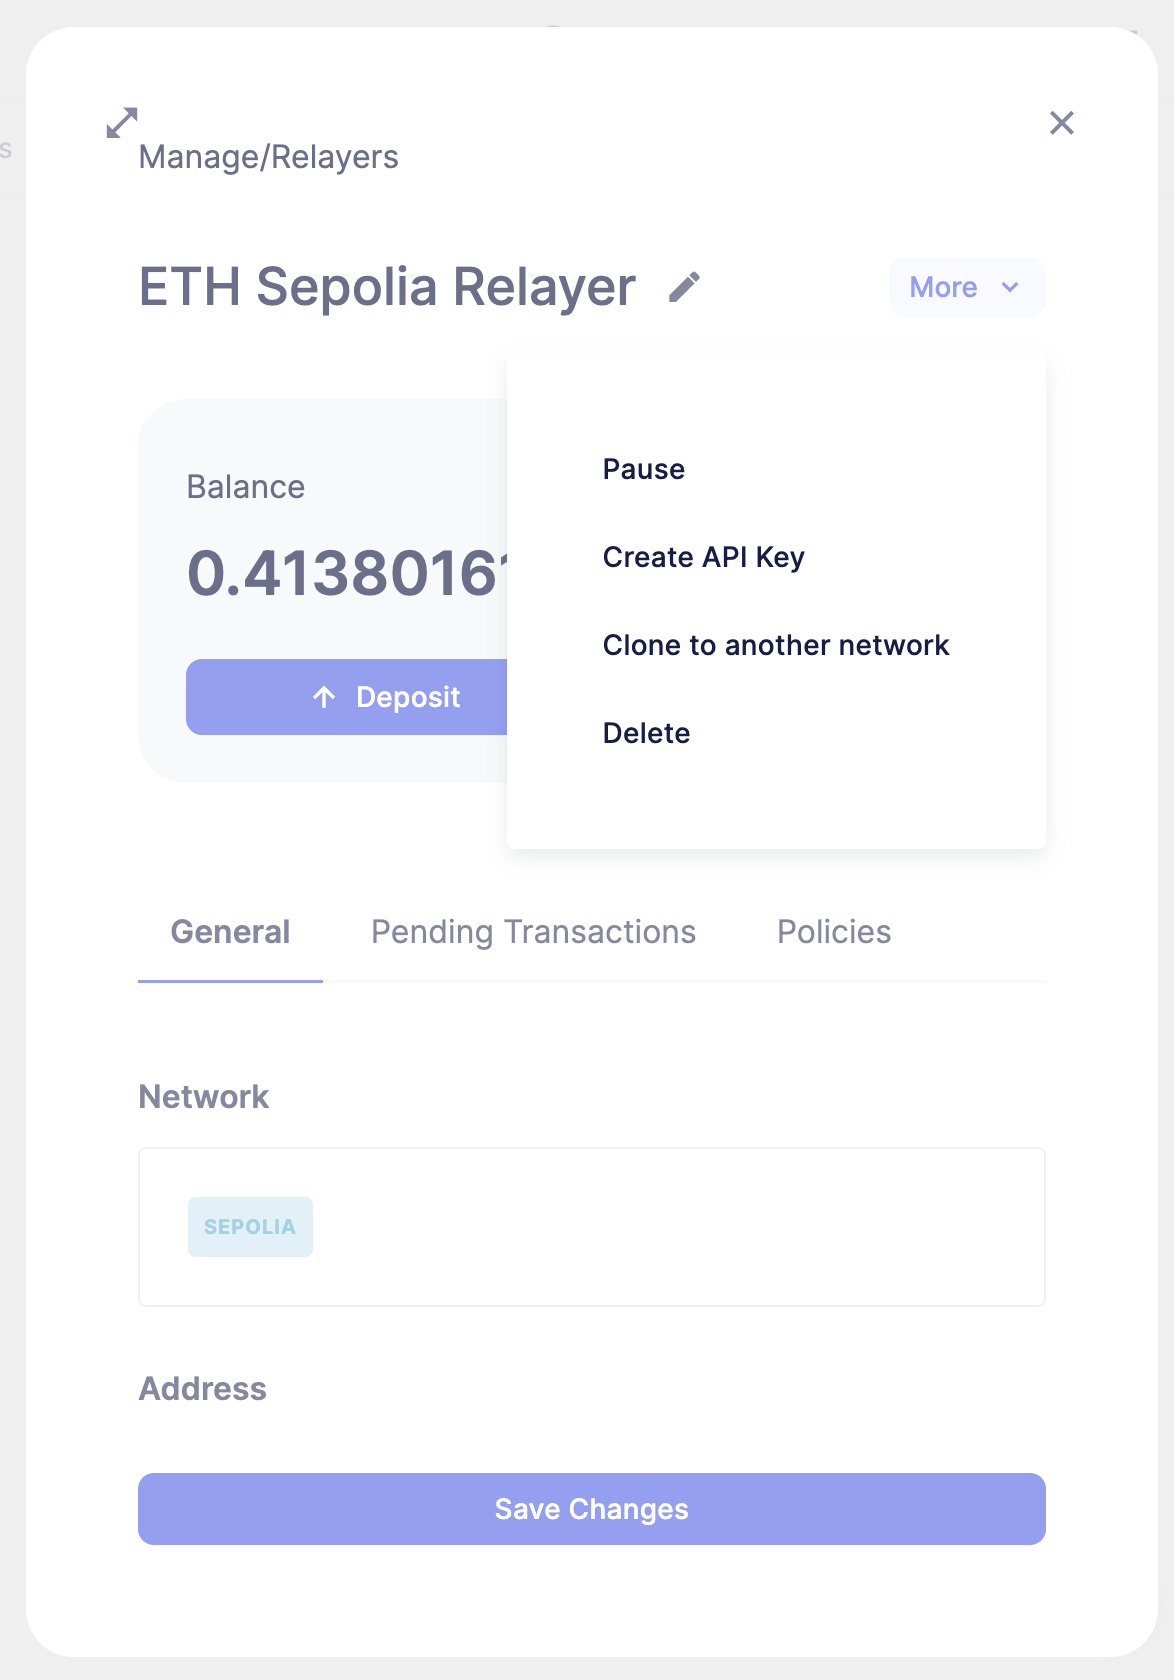
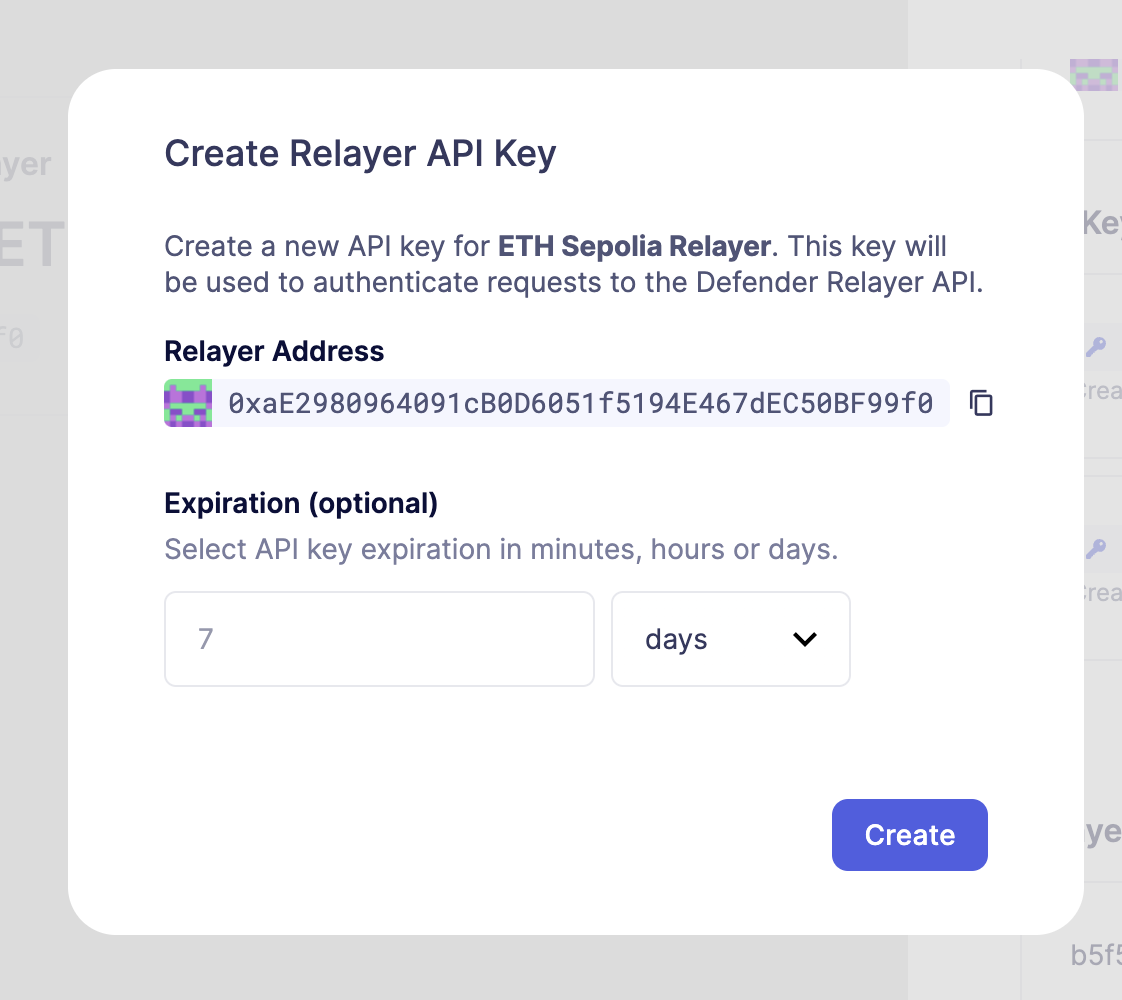
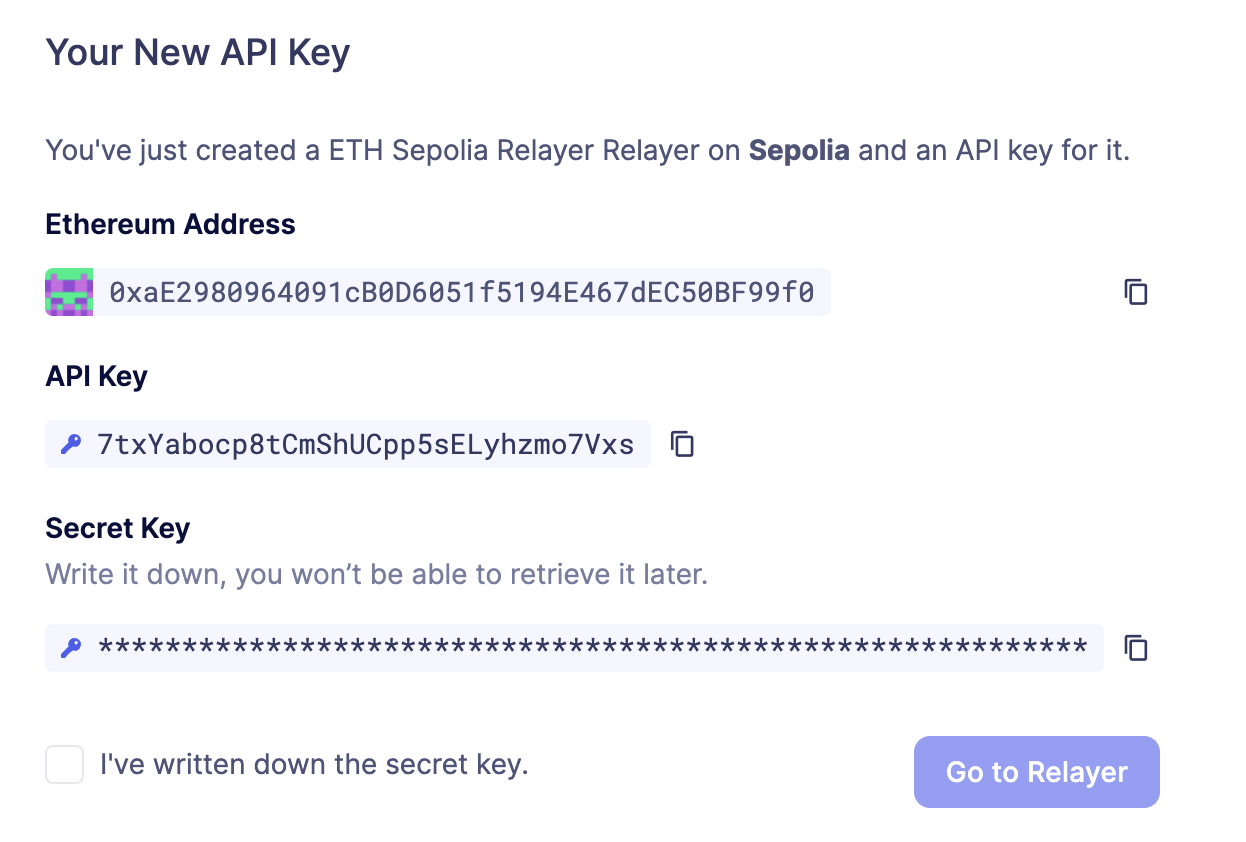
To create an API key for a Relayer, click on the Relayer and then on the More button to expand the dropdown and select Create API Key
-
Now you can set API key expiration in minutes, hours or days.
-
Once the API Key is created, make sure to write down the secret key. The API secret is only visible once during the creation — if you don’t write it down, it’s lost forever.
2. Check Relayer Information
-
Let’s start by checking the information of our relayer.
-
Add Relayer in
.envFile -
Edit
.envfile in your project root directory and add your Relayer API Key and Secret:RELAYER_API_KEY=your_api_key RELAYER_SECRET_KEY=your_api_secret -
Create a file named
storeObject.tsin the project. -
Now let’s add the following code:
const Defender = require('@openzeppelin/defender-sdk'); const dotenv = require('dotenv'); dotenv.config(); async function main() const client = new Defender({ relayerApiKey: process.env.RELAYER_API_KEY, relayerApiSecret: process.env.RELAYER_SECRET_KEY, ); const info = await client.relaySigner.getRelayer(); console.log('Relayer Info:', JSON.stringify(info, null, 2)); } main().catch((error) => console.error(error); process.exitCode = 1; ); -
Execute the script to check the relayer information:
ts-node storeObject.tsAlternatively, if you want to use Node directly:
node storeObject.js3. Send Transaction
Next, we will send a transaction using the relayer.
-
Let’s edit the same file and add the following code:
const tx = await client.relaySigner.sendTransaction(
    to: '0x1B9ec5Cc45977927fe6707f2A02F51e1415f2052',
    speed: 'fast',
    data: '0x6057361d000000000000000000000000000000000000000000000000000000000000000a',
    gasLimit: '80000',
  );
console.log('Transaction sent! Hash:', tx.hash);
Here we are using the Sepolia Box contract as the target, which is:
0x1B9ec5Cc45977927fe6707f2A02F51e1415f2052and data is the encoded version of the store() function with ‘10’ as input parameter.
0x6057361d000000000000000000000000000000000000000000000000000000000000000a-
Execute the script to send a transaction:
ts-node storeObject.tsAlternatively, if you want to use Node directly:
node storeObject.js4. Check Transaction Status
Finally, let’s check the status of our transaction status.
-
Edit the file again and add the following code:
const txUpdate = await client.relaySigner.getTransaction(tx.transactionId); console.log('Tx Status', JSON.stringify(txUpdate, null, 2)); -
Execute the script to check the relayer status:
ts-node storeObject.tsAlternatively, if you want to use Node directly:
node storeObject.js5. Next Steps
Congratulations! You have successfully used the Relayer to check information, send transactions, and verify the transaction status. By following this tutorial, you have gained a fundamental understanding of how to interact with smart contracts using the Relayer.