Deploy a smart contract on a forked network
Defender empowers you to harness your customized network forks for deploying and testing smart contracts, along with associated configurations of, for example, actions, monitors, and workflows. This guide will lead you through the steps of deploying a smart contract on a forked network and interacting with it.
Pre-requisites
- OpenZeppelin Defender account.
1. Configure your forked network
You will setup a forked network on Phalcon and add this network to Defender. To configure a forked network, follow these steps:
-
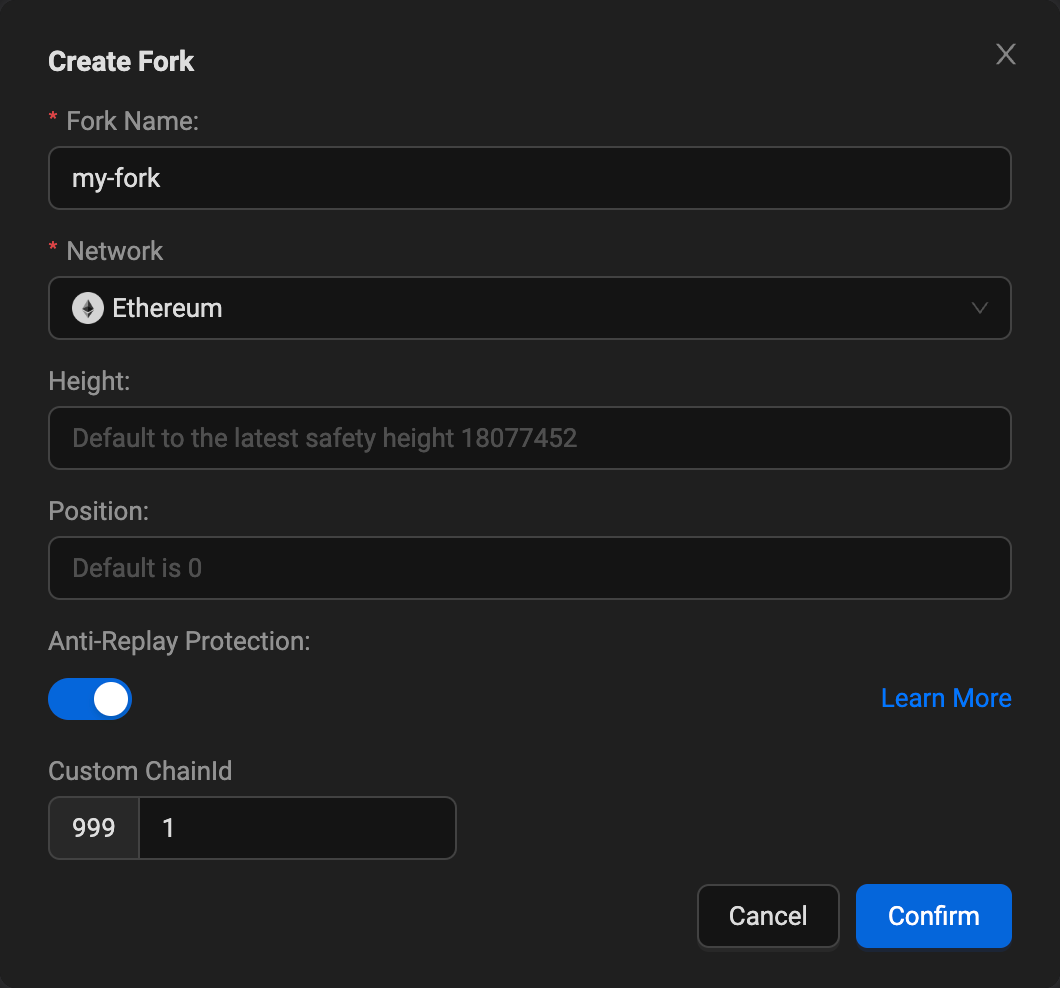
Register an account on Phalcon and create a new fork using Ethereum mainnet as the source network.
-
Ensure anti-replay protection is activated to use a distinct chain ID for your fork, preventing conflicts with public chain IDs.
-
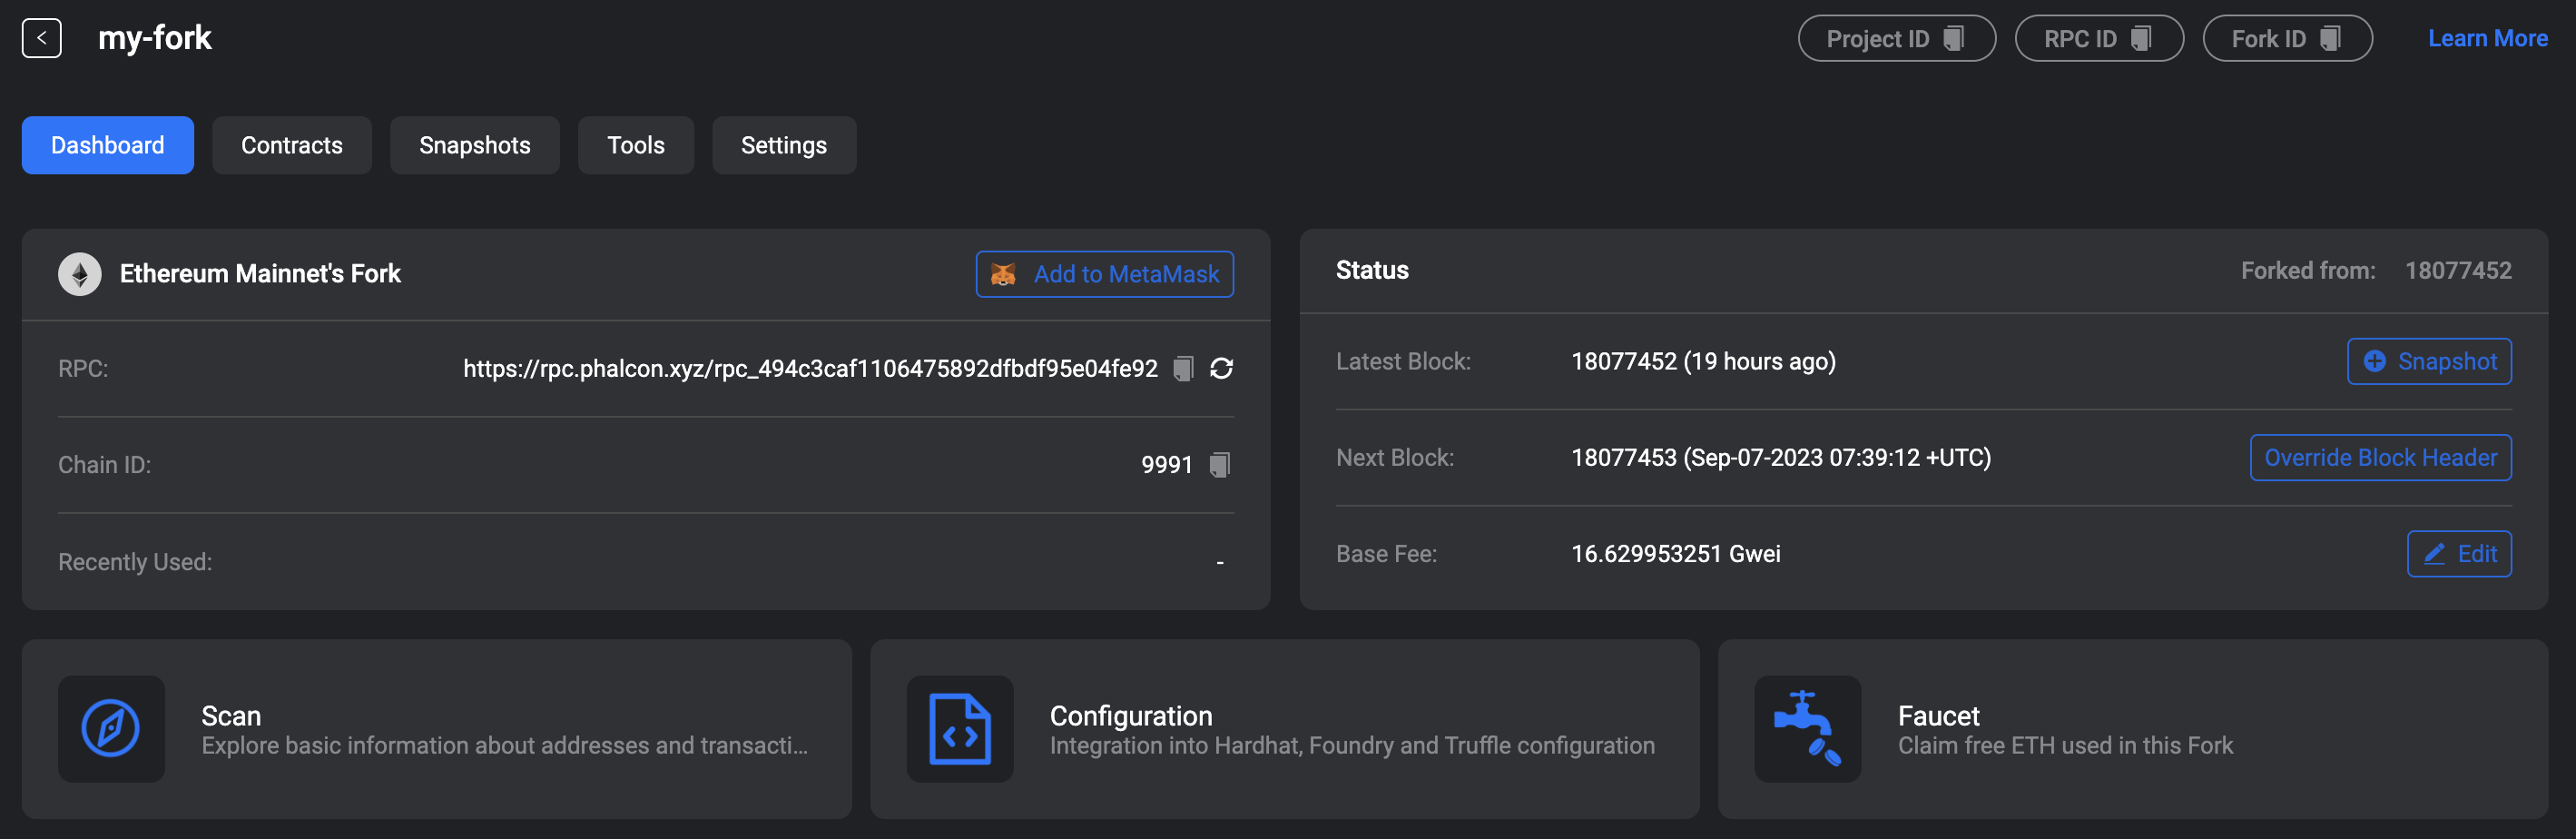
Copy the RPC URL and Explorer URL (this can be found under 'Scan') of your forked network. You will need it to add the network to Defender.
-
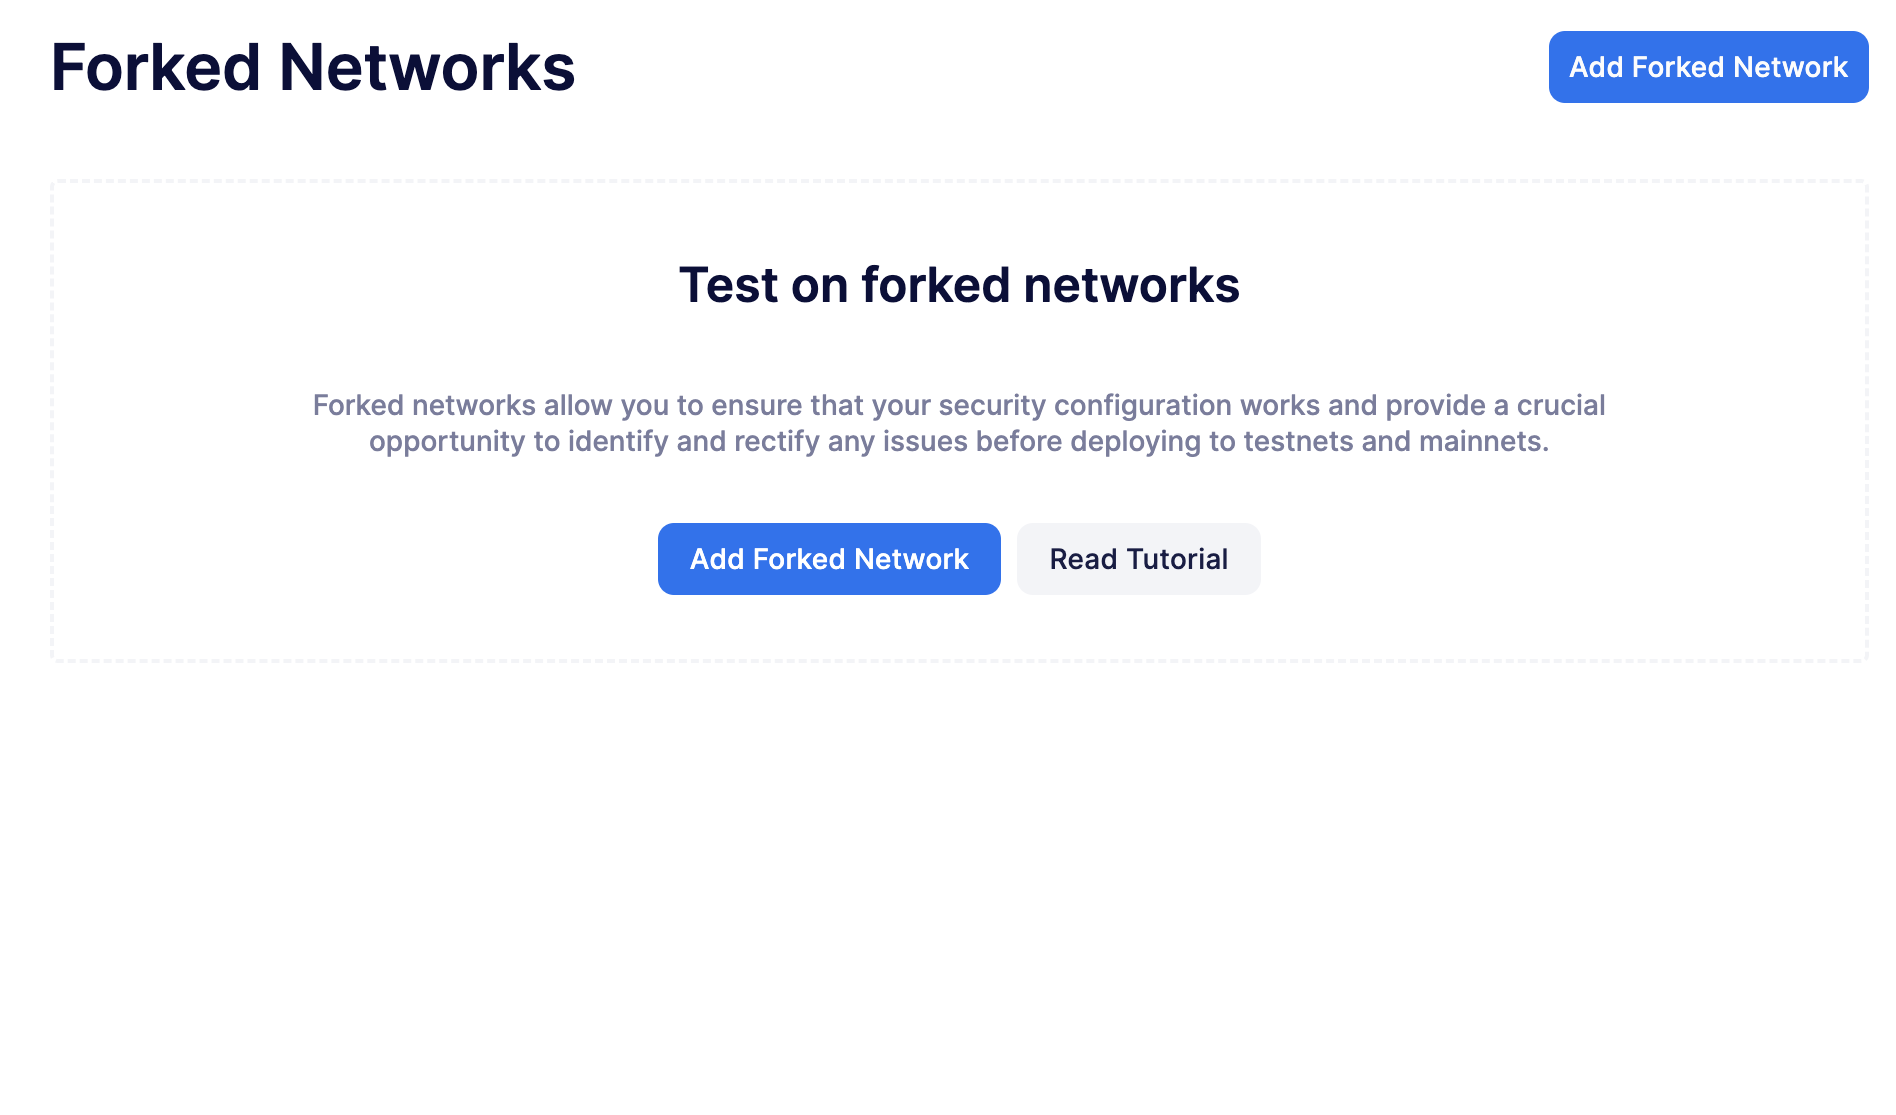
Open Defender Forked Networks in a web browser.
-
Click on Add Forked Network.
-
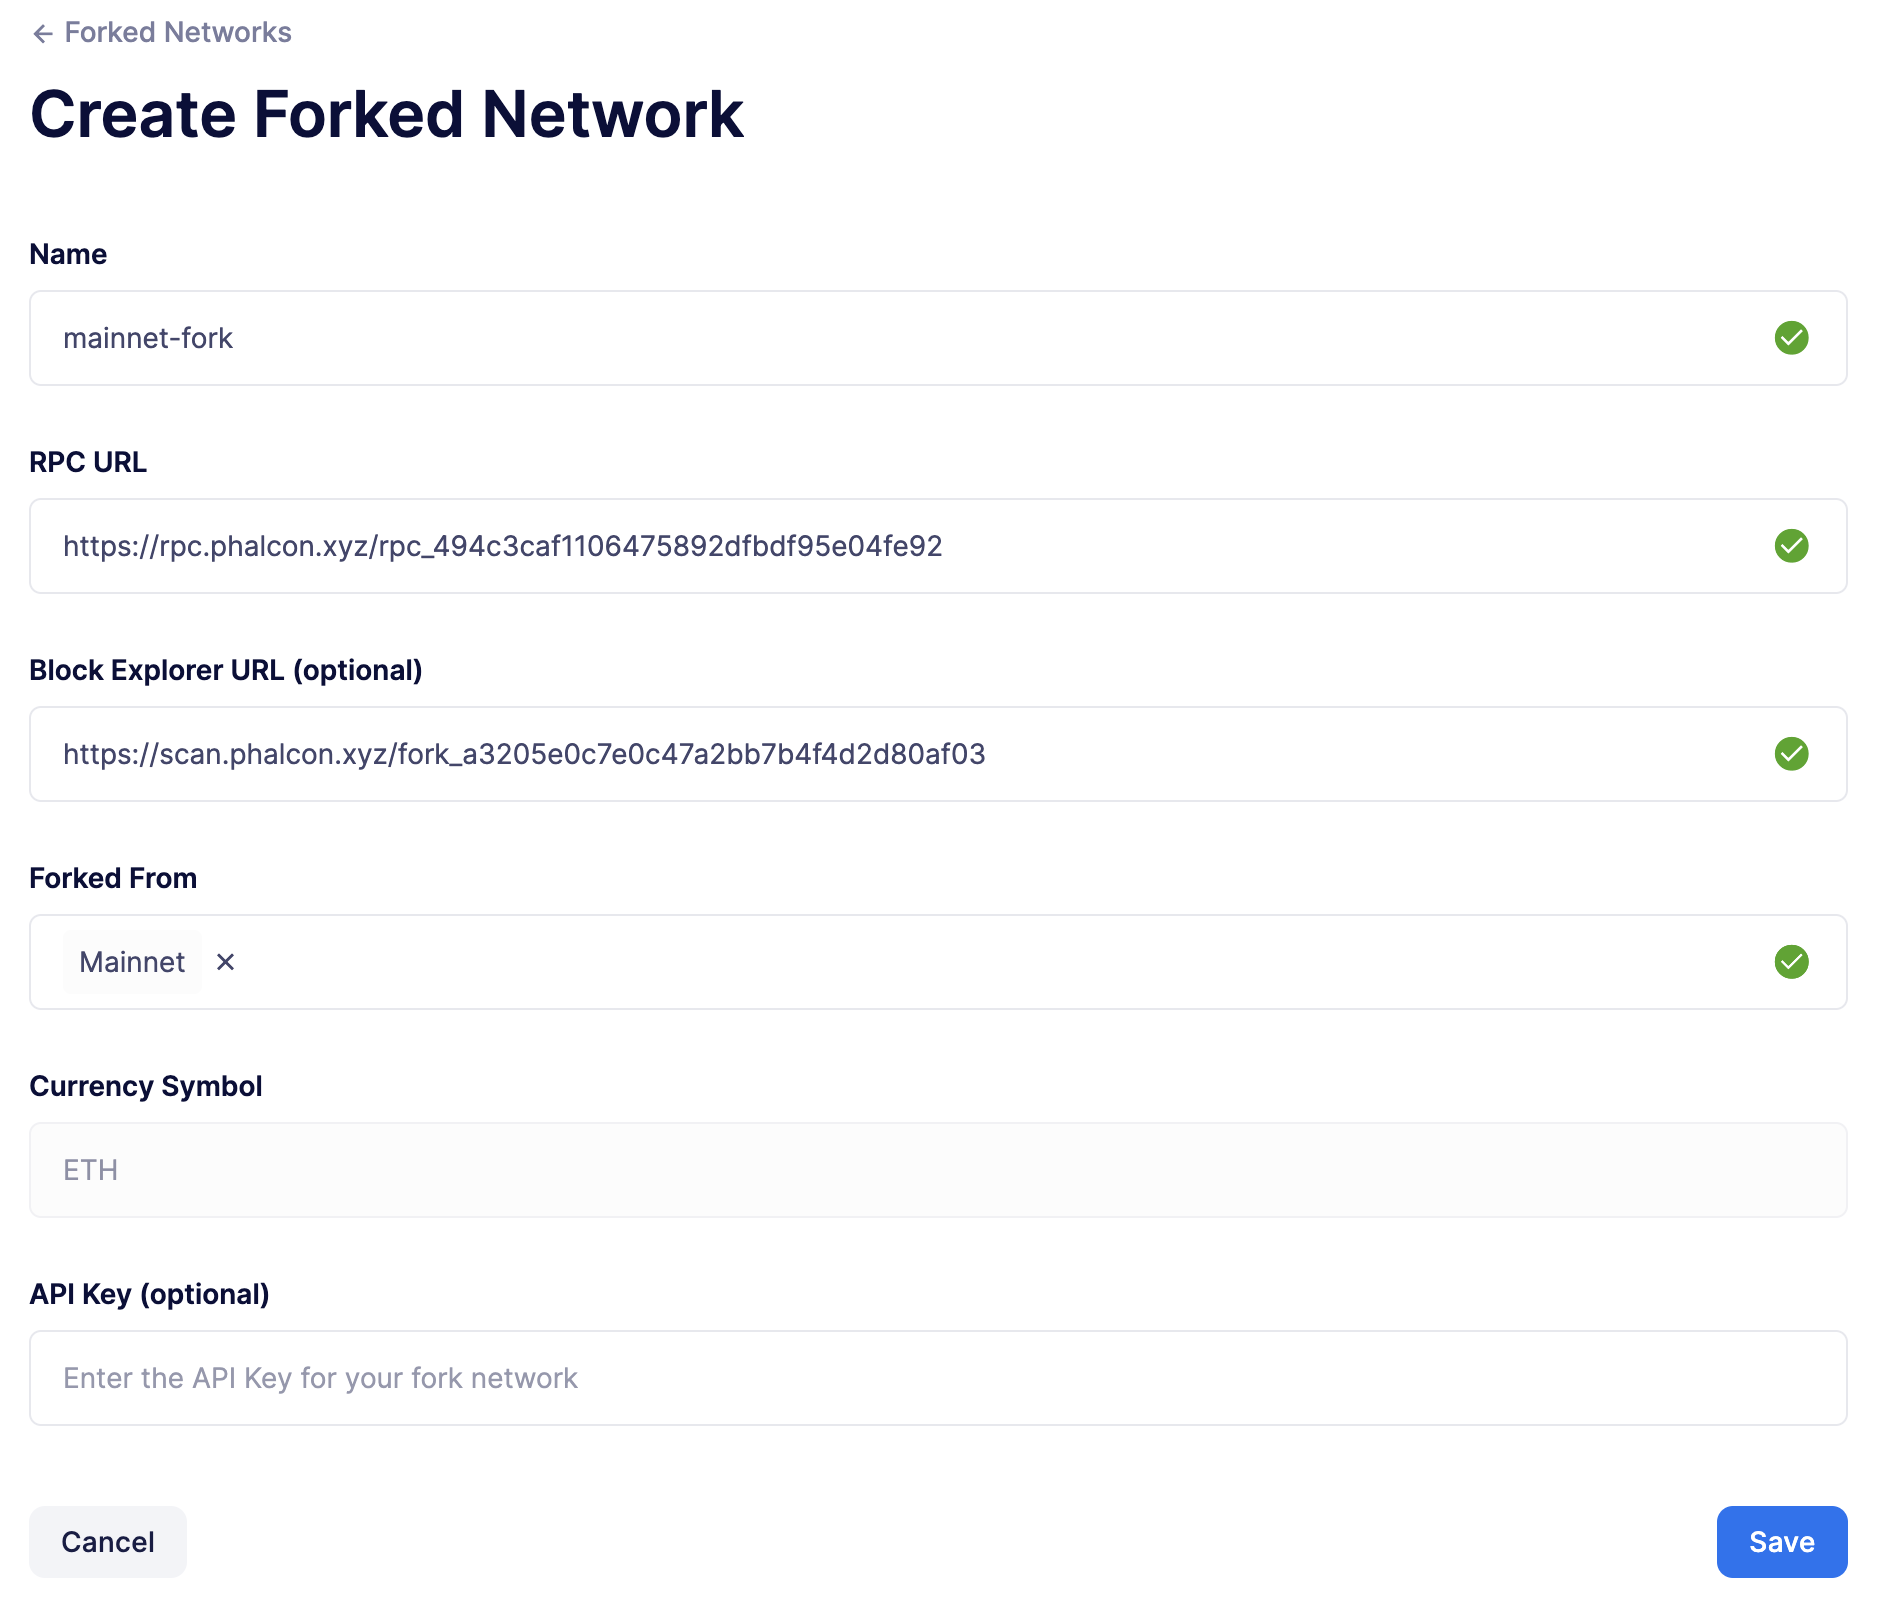
Enter the details of your forked network which can be found in your Phalcon dashboard.
-
Click on Save.
You may use any provider to fork a network, such as Conduit. However, we recommend using Phalcon as it is free and easy to use.
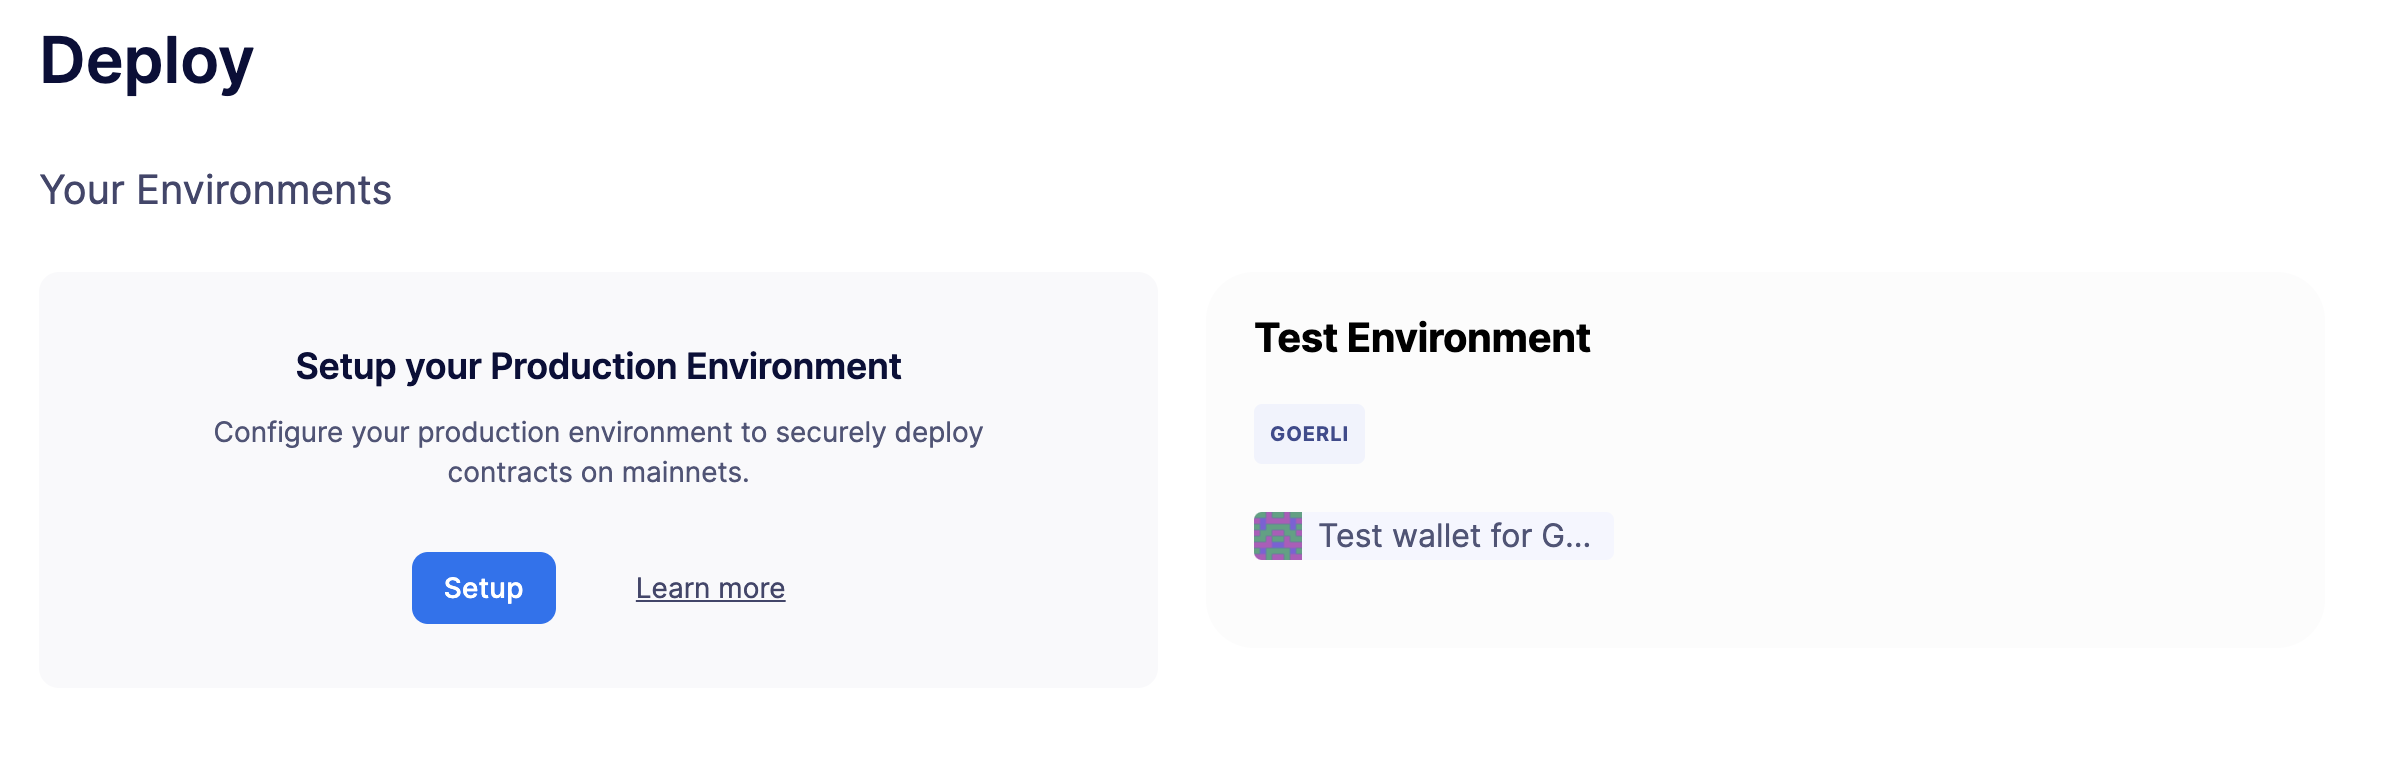
2. Configure the deploy environment
You will setup a deploy environment for the forked network you just added to Defender. To configure a deploy environment, follow these steps:
-
Open Defender Deploy in a web browser.
-
Click on Setup for your production environment (or setup a test environment if your network is forked from a testnet).
-
From the network dropdown, select the forked network you just added.
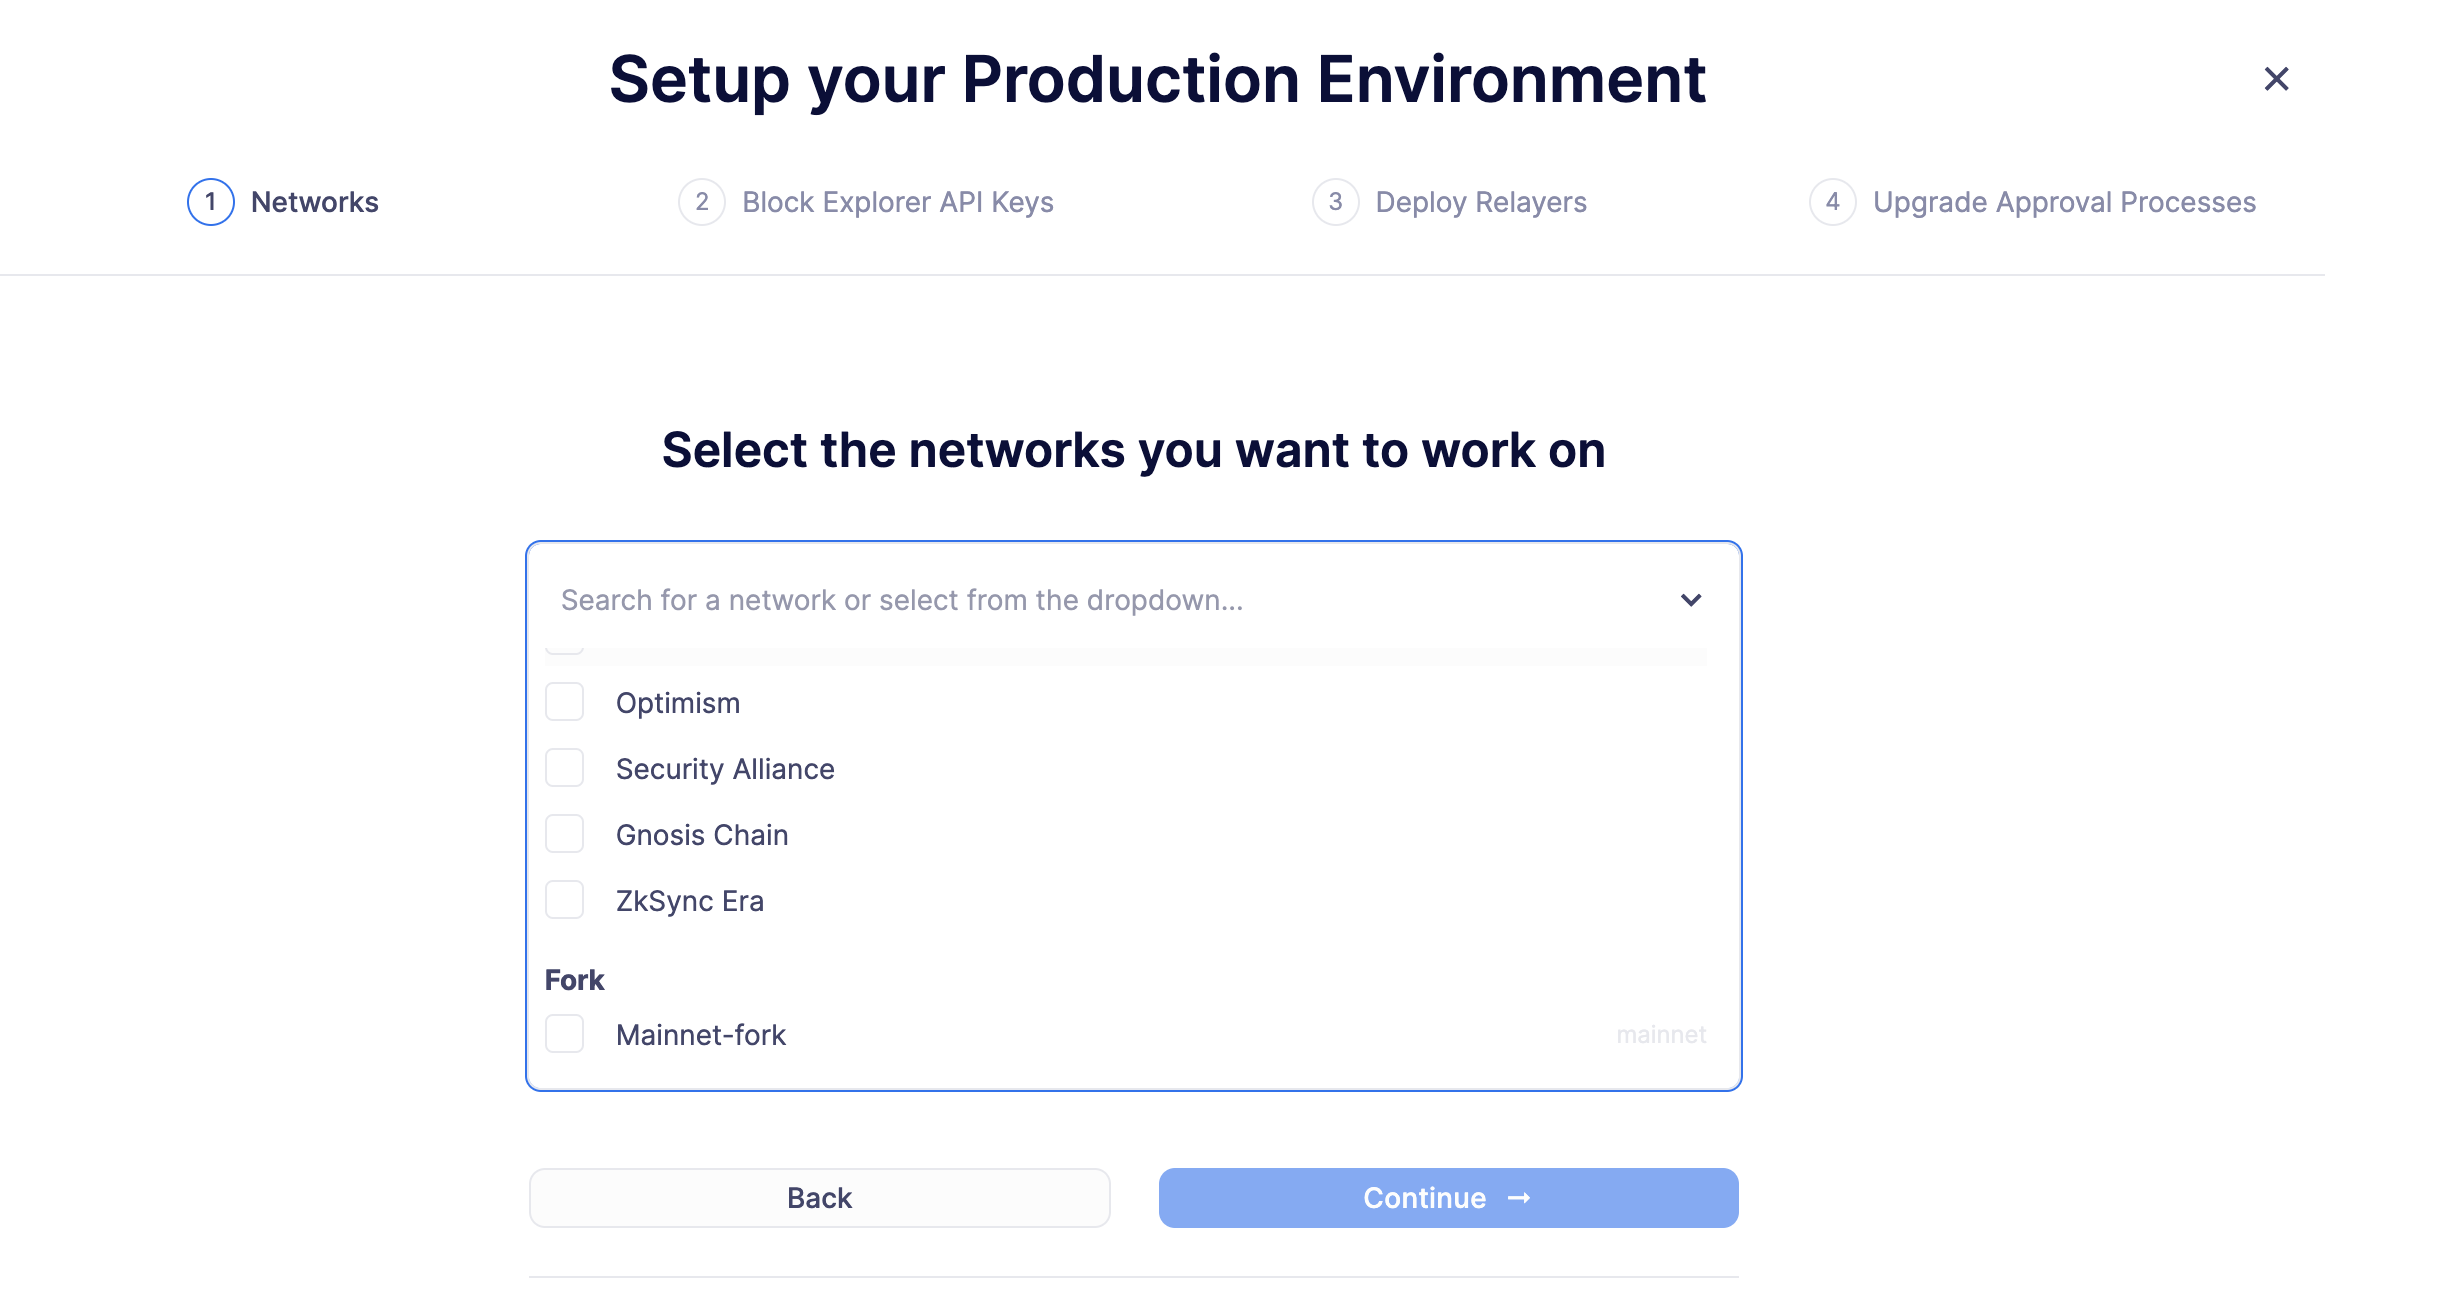
-
Click on Next to continue.
-
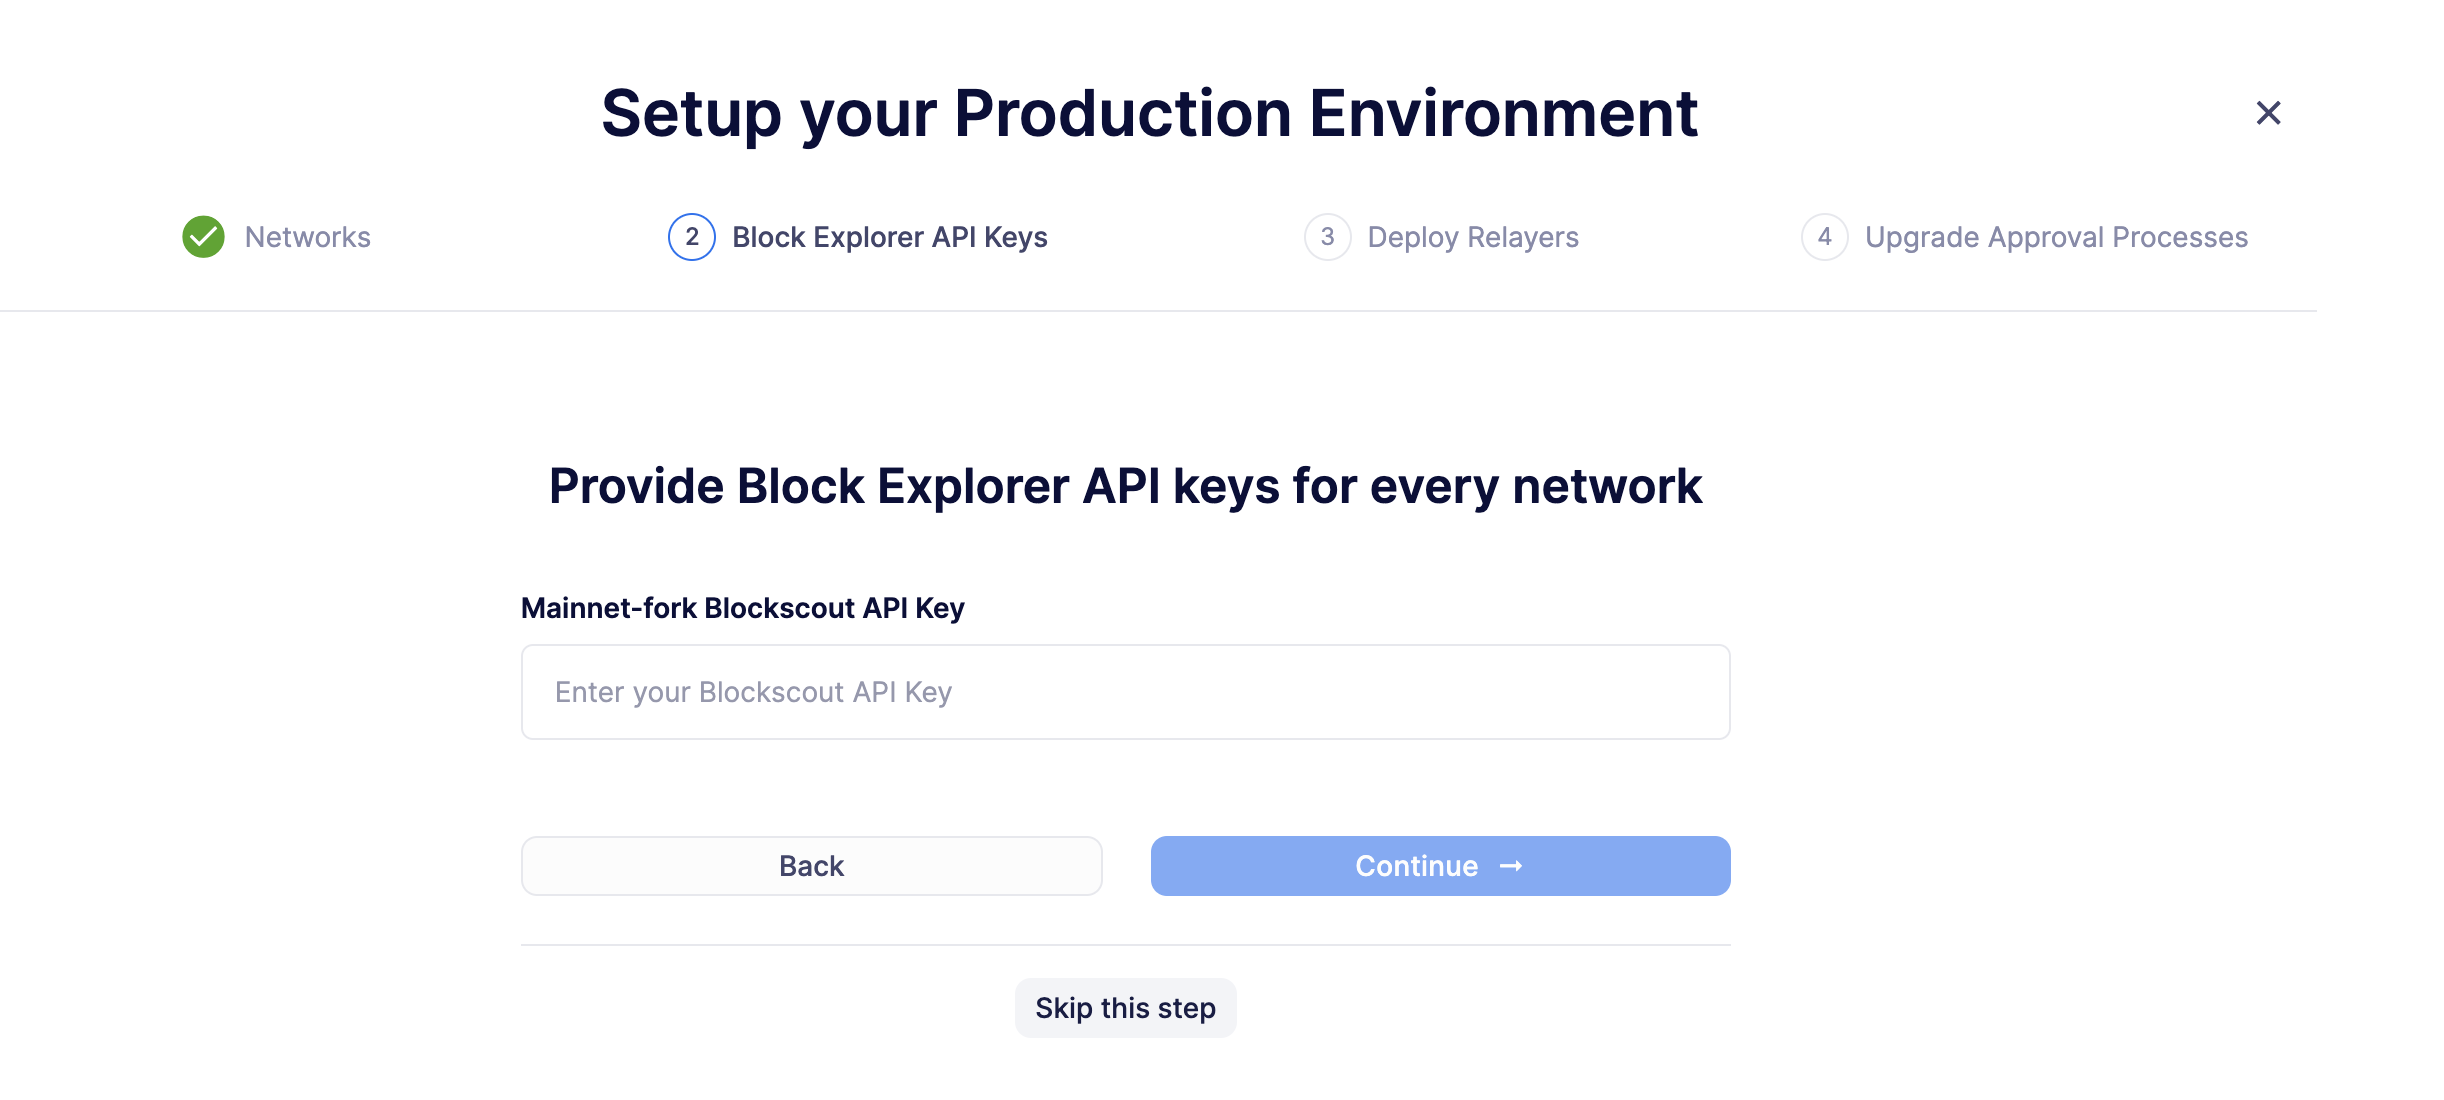
When asked to provide a block explorer API key, click on Skip this step as it’s not possible to use block explorer API keys for forked networks.
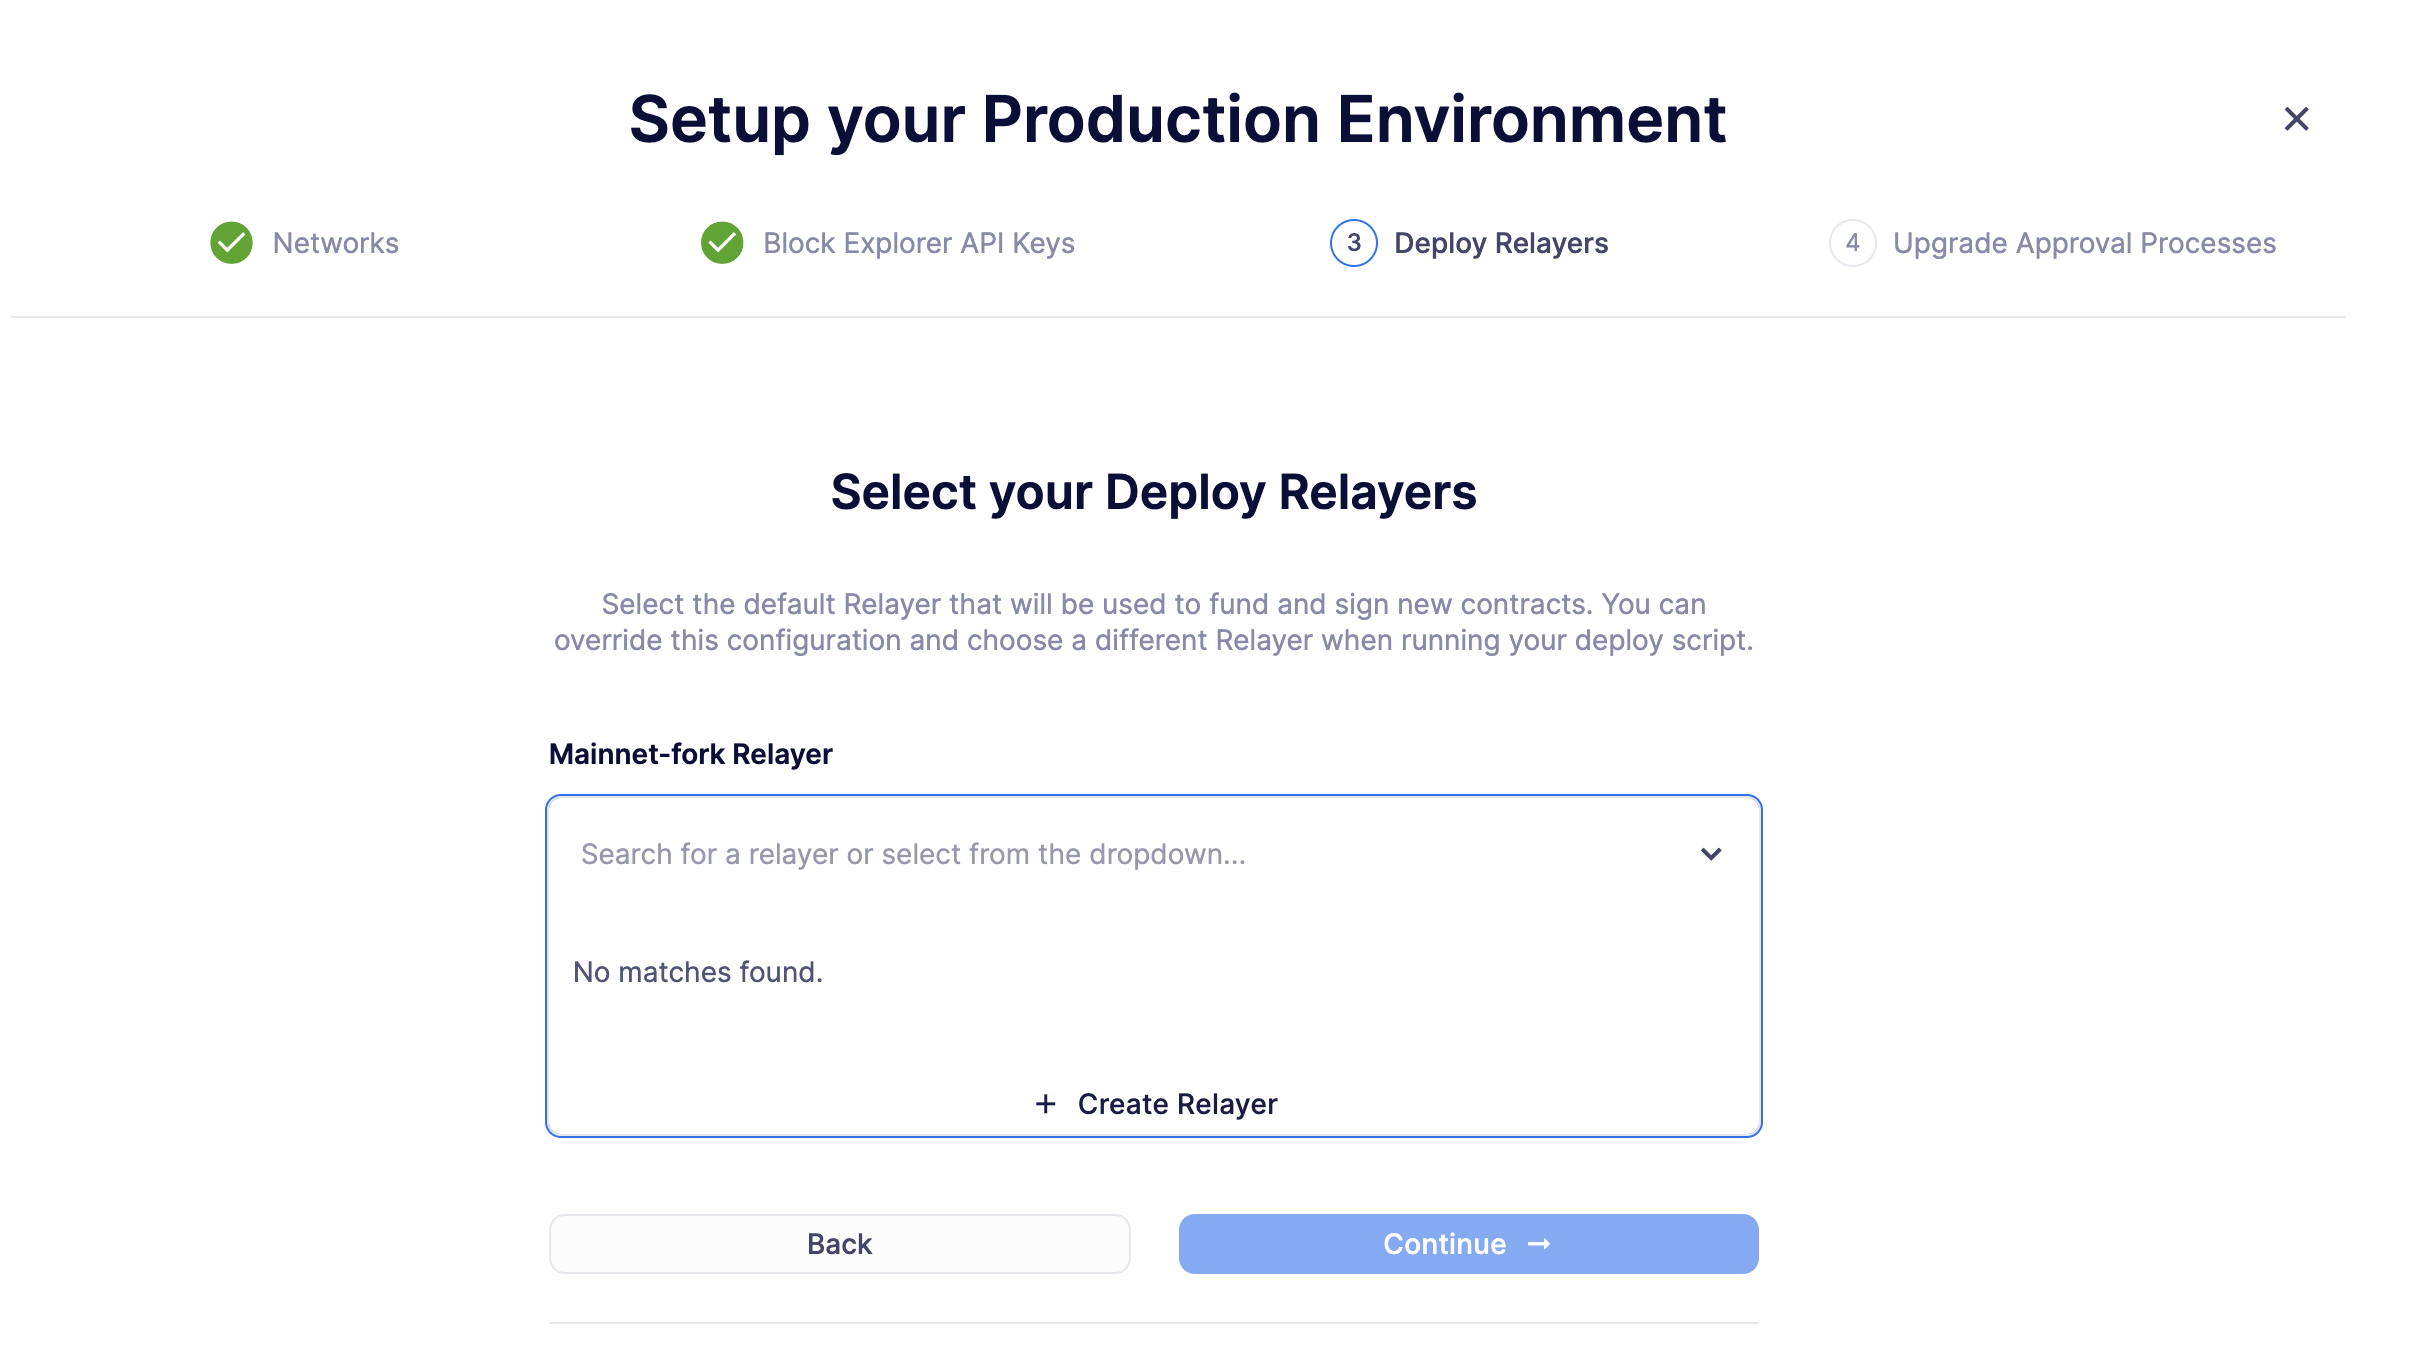
-
On step 3 of the deploy wizard, create a new Relayer from which your deploy transaction will originate by clicking on Create Relayer from the dropdown menu.
-
Lastly, click on Skip this step when asked to select an upgrade approval process. Currently, upgrades are not supported for forked networks.
-
Make sure to copy the generated team API keys and store them in a safe place. You will need them to interact with your deploy environment.
Your deploy environment is now setup!
You should fund the relayer account with enough ETH to cover the gas costs of your deploy transaction. Most providers have a faucet that you can use to fund your relayer account. For Phalcon, you can find this on the dashboard.
3. Deploy a smart contract on a forked network
You will deploy a smart contract on the forked network you just added to Defender. To deploy a smart contract, follow these steps:
-
Setup a JavaScript project and install the defender-sdk-deploy-client NPM package. Alternatively, you can use the defender-sdk delpoy example script provided in the OpenZeppelin Defender SDK repository.
-
The deployment code will look something like this:
const config = await client.deploy.getDeployApprovalProcess('mainnet-fork');
console.log(config);
const deployment = await client.deploy.deployContract(
contractName: 'Box',
contractPath: 'contracts/Box.sol',
network: 'mainnet-fork',
artifactPayload: JSON.stringify(artifactFile),
licenseType: 'MIT',
verifySourceCode: true,
// Only provide the salt if you wish to use CREATE2. Otherwise, omit this field to use CREATE.
salt: "a-unique-salt"
);
const deploymentStatus = await client.deploy.getDeployedContract(deployment.deploymentId); console.log(deploymentStatus);
. Run the script to deploy the contract. **Note** that providing a `salt` will deploy the contract using `CREATE2`. Otherwise, the contract will be deployed using the `CREATE` opcode. Visit the documentation for more information on the [caveats of deployment](https://docs.openzeppelin.com/defender/tutorial/deploy#deploy-caveat).
. Once deployed, you can track the deployment status on the [Defender Deploy dashboard](https://defender.openzeppelin.com/v2/#/deploy/environment/production).

## Next steps

Congratulations! You have successfully deployed a smart contract on a forked network. If you have provided a `blockExplorerUrl`, you can verify the transaction on the block explorer of your forked network.

<Callout>
After deploying a contract, we recommend creating a Monitor and setting up Actions on Defender. Learn how to setup a Monitor [here](/defender/tutorial/monitor), and use Actions with its tutorial [here](/defender/tutorial/actions).
</Callout>

## References

* [Deploy Documentation](/defender/module/deploy)
* [Actions Documentation](/defender/module/actions)
* [Monitor Documentation](/defender/module/monitor)
* [Phalcon](https://phalcon.xyz)
* [Conduit](https://conduit.xyz)